Tests are important because programmers are human. I know that I’m going to forget, make mistakes, and change things that I didn’t mean to change. Testing lets me improve my chances of at least noticing. Coverage tools show me how much of my code is covered by tests, improving my chances of seeing where my blind spots are.
In one of my last projects at IBM, I convinced my team to use coverage testing tools on a Rails development project. It was great watching the coverage numbers inch up, and we actually reached 100% (at least in terms of what rcov was looking at). I occasionally had to fix things when people broke the build, but sometimes people added and updated tests too. Although coverage testing has its weaknesses (are you testing for edge cases?), it’s better than nothing, and can catch some embarrassing bugs before they make it to the outside world.
Although I’m not currently taking on any web development work (I’m saving brainspace for other things), I have a few personal projects that I enjoy working on. For example, QuantifiedAwesome.com lets me track different measurements such as time. I had written some tests for it before, but since then, I’d been adding features and making changes without updating the tests. Like the way that unpaid credit card balances turn into financial debt (very bad habit, try to avoid this if possible), unwritten or out-of-date tests contribute to technical debt.
It was a little daunting to sit down and slowly work my way through the knots of out-of-date tests that had accumulated from haphazard coding. Here’s how I made the task more manageable:
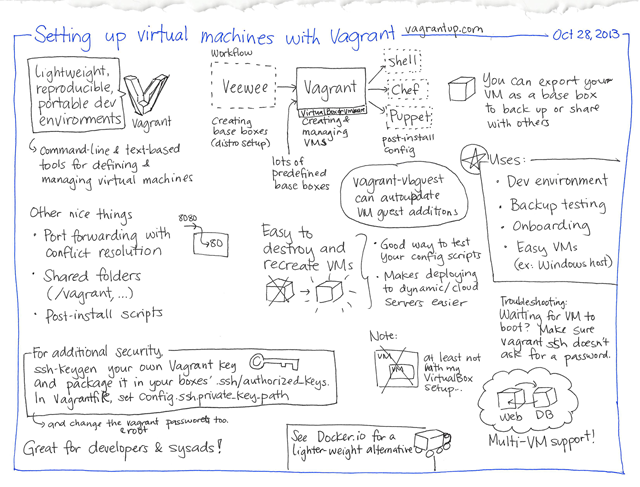
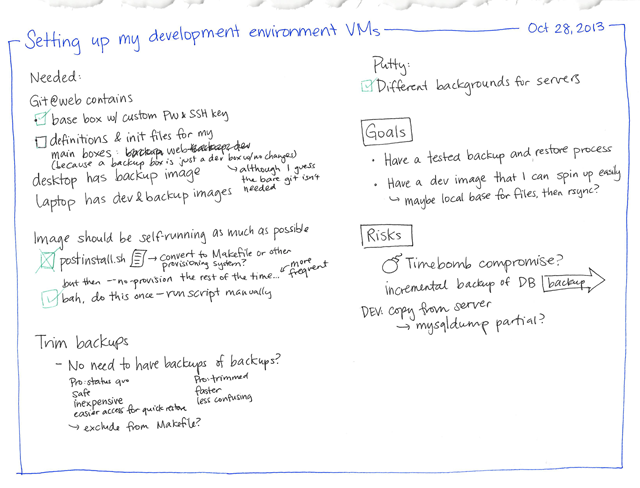
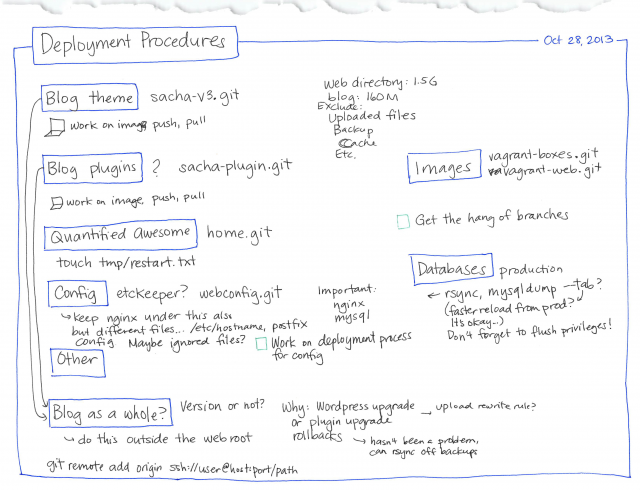
- I set up a virtual Linux development environment using Vagrant and Puppet. Many tools are much easier to set up on Linux than they are on Windows, and using a virtual machine for development means that I can easily isolate changes from the rest of my system. Vagrant allows you to specify the configuration of a VirtualBox machine and quickly set up a new instance of it. I copied the Puppet configuration from rails-dev-box and modified it to match my requirements. I also compiled and installed Emacs 24 from source, along with a few Ruby-related tools like haml-mode and rinari. (If you’re going to do a lot of development, you might as well do it with your favourite tools!) I copied the Vagrant private keys and imported them into Pageant (an ssh agent for Windows) for easy logins, and I forwarded the ports too.
- I used Guard and Spork to efficiently run subsets of my tests. Guard is a tool that re-runs specific tests when it detects that files have changed, while Spork lets you run tests without reloading your entire Rails application. Instead of running rake spec (which runs the whole test suite) or rspec ./spec/path/to/file (and having to copy and paste the failing test’s filename), I could let Guard take care of rerunning failed tests for me.
- I worked on getting the old tests to pass. I wanted to get those cleared up before writing new tests. Good thing too – found a few bugs and some old code along the way.
- I reviewed the recommendations for better tests. Better Specs has tips on using RSpec with Ruby.
- Then I wrote new tests to cover the rest of my models. I used Simplecov for coverage testing. Since Vagrant uses shared folders, I could use Google Chrome to view the coverage webpages from my host computer. I still have some technical debt left – I need to write integration tests, and there’s more beyond that – but it’s satisfying to know that the models (data + logic) are covered. For some reason, my Guard+Spork combination doesn’t result in cumulative Simplecov scores, so I occasionally regenerate my coverage stats with rake spec. These tests will be useful as I write new features or move to Rails 4.

(… 21.5 hours of coding/development/infrastructure…)
New things I learned:
I use Mechanize to work with the Toronto Public Library’s webpage system so that I can retrieve the list of due books, renew items, or request holds. I wanted to test these as well. FakeWeb lets you intercept web requests and return your own responses, so I saved sample web pages to my spec/fixtures/files directory and used FakeWeb to return them. (ex: toronto_library_spec.rb)
Paperclip also needed some tweaking. I replaced my Paperclip uploads with File assignments so that I could test the image processing. (ex: clothing_spec.rb)
Always remember to wrap your RSpec tests in an it “…” instead of just context “when …” or describe “…”. I forgot to do this a few times and got confused about why stuff got left in my database and why the error messages weren’t formatted like they normally are.
Progress! Next step: Update my Cucumber tests and add some more integration tests…
I like this part of being a developer, even though writing new code is more fun. Testing is one of those time-consuming but powerful tools that can reduce frustration in the long run. I’ve experimented with applying automated testing techniques to everyday life before. I wonder what it would be like to take that even further… Any thoughts?


