Free/pay-what-you-want resources for sketchnoting with Autodesk Sketchbook Pro
Posted: - Modified: | drawingI've written about how I use Autodesk Sketchbook Pro on my Windows-based Lenovo X220 tablet PC (which is a Proper Computer and everything, so I can run all sorts of other stuff in addition to drawing on my screen). To make things even easier, I've put together the light dot grid that I use for drawing consistently even when I'm zoomed in, a PSD that has the grid, and the brushes that I use to draw different widths easily.
You can download the ZIP of the resources from https://sachachua.com/sketchbook-resources. They're best used with Autodesk Sketchbook Pro (desktop version), but you can probably adapt them for use in other apps.
To import the brushes into your palette:
1. Open the brush palette if it is not yet visible.
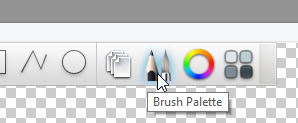
Brush palette
2. Open the brush library by clicking on the icon of the three bars.
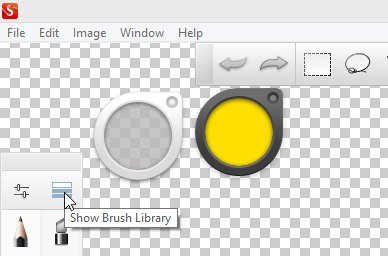
Show brush library
3. Use the radial menu to import the brushes. You can create a new brush set if you want, and then import the brushes into that.
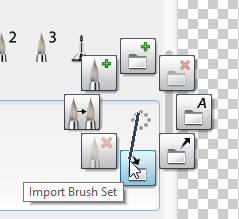
Import brush set
4. Drag and drop the brushes into your brush palette (the long vertical one) in the order you want.
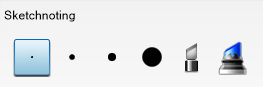
Brush set
I use the first three pens for small, medium, and large widths. The largest pen is useful for colouring. I keep it there so that I can change the size easily without messing up the other three pens. I usually use the highlighter on a separate layer so that I can change my mind about highlighters afterwards, but if you need to highlight as you go, you can use the second highlighter (based on the Copic brushes) to highlight on the same layer.
Again, you can download these free/pay-what-you-want resources from https://sachachua.com/sketchbook-resources . Enjoy!
Thanks to Tom Diaz for nudging me to publish these!
4 comments
Hames Rodrigues
2017-02-08T01:26:42ZHi Sasha you inspired me to practice sketch noting, thanks it's going well but can be better. I have a question what size canvas should I use in sketchbook pro on my fifteen inch laptop. Thanks and keep up the good work.
sachac
2017-02-08T22:18:48ZIt mostly depends on what size you might want to view them at or print them at. Lately I've been drawing with 4px and 8px-radius pens (digital, of course) on a 1497px * 896px canvas, which works out to be roughly 300 pixels per inch for a 5"x3" index card, and I use a dot grid that has about 20 rows in that space. This works out surprisingly well for reviewing on my phone and including in my blog. I previously used a 3300px * 2550px canvas for a target size of 11"x8.5" at 300dpi. That's the one included in the zip, I think. Good luck figuring out what works for you in terms of how you like to see things!
sachac
2017-02-08T22:48:08Z... although now that you mention it, there's really no reason I shouldn't be using 1500x900 instead. Duh! It was probably left over from a cropped scan of a physical index card that worked out just so. =)
Archimedes Trajano
2017-02-16T00:15:34ZI was wondering why your resolution sounded a bit less than rounded.