Level up! Making IKEA-compatible shelves
Posted: - Modified: | lifeWe've been decluttering, moving things around and getting rid of things that no longer fit our life. W- decided to reorganize the downstairs cabinets, shuffling the supplies around so that the paper was closer to the printer. It made sense to add another shelf there. The cabinets had been discontinued, and W- couldn't find shelves matching the dimensions we needed. Time to make our own!
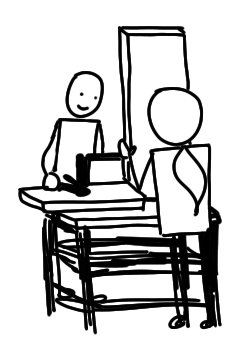
W- picked up a long piece of pine from the hardware store and he cut it into three pieces. We went to IKEA to ask for more shelf pins, which they rustled up after lots of digging. Then we used the router (the woodworking one, not the networking one =) ) to carve out small indentations that would accommodate the pins. While I lined up the existing shelf as a guide, W- adjusted the piece of scrap wood that we were using as a fence and then clamped it into place. He rehearsed the cut, then routed the three boards. We repeated the process for the other indentations. Then we tested the boards – and they fit nicely. Now we're varnishing them. We probably don't need to varnish them, but we might as well. =) If we do another set — which we probably will — I'm looking forward to practising routing again.
Making shelves and varnishing them might be pretty small things, but it's great to be able to do this. I like how W- is helping me learn all these practical skills. I'd love to learn more about building small and medium-sized things around the house: an open box for my cubby at Hacklab, some support for the kitchen shelf, a headboard, maybe even a study table. Someday!


1 comment
Mike Wilson
2014-10-06T14:41:46ZMaking your own stuff is amazingly satisfying. I moved to a very rural area after having lived in Brooklyn for almost 20 years. When I got up here I made a couple things, little shelves, a workbench, table for laundry room. It's addictive and awesome.
I sure like it more than writing my own command line tools. :)