Programmatically rescaling and manipulating the darts in sewing patterns
Posted: - Modified: | geek, sewingI’ve been playing with the tmtp project for programmatically generating SVGs based on body measurements in order to create basic blocks and sewing patterns (see my previous blog post). I’m not yet at the point of being able to look at an image and see if it will sew correctly. However, printing and taping up large patterns is frustrating and a waste of paper. Scaling the patterns down so that they fit on a single page of paper makes perfect sense. With the measurements I’m working with, a scale of 0.2 (1″ : 5″) makes things fit neatly on 8.5″x11″ paper. It’s easy enough to cut them out and tape them up into something that resembles the form.
Here’s the commit that adds the scaling factor, and the commit that adds a very useful --scale command-line option. This lets me do something like this:
python mkpattern --verbose \
  --client=customer/Sacha/sacha-cm.json \
  --pattern=patterns/dart_manipulation_example.py \
  --styles=tests/test_styles.json --scale=0.2 output.svg
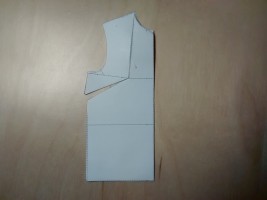
I generated a bunch of SVGs using my measurements, printed and cut them, and taped them up. Tada! They look like they make sense. The easy-fitting bodice block from Metric Pattern Cutting is, as expected, looser than the close-fitting bodice block, and both are a little bit bigger than the basic bodice block from BurdaStyle.
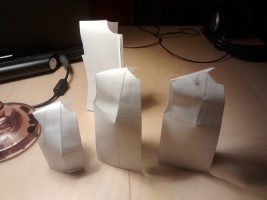
The basic shirt pattern from Cal Patch’s Design-it-Yourself Clothes fits over the basic blocks, as expected. It looks a little boxy compared to the blocks, but it will probably be fine in cotton, since cotton won’t be as stiff as paper.
If I end up doing this a lot, I’ll probably look into modifying the patterns to draw an outline on a separate layer. Then I can convert the SVG for use with Hacklab’s laser cutter (see my previous experiments and fun results), so I can easily test with paper or fabric.
I was thinking about the viability of printing a small, to-scale 3D model based on measurements. Doesn’t have to be a photorealistic 3D scan of me – apparently you can get photorealistic 3D prints for about ~$120 these days, but that’s still a bit much. If it’s not from a scan, though, there’s the challenge of generating a good model based on entered measurements, or creating/adjusting an existing model of a dress maker’s mannequin. Anyway, papercraft with basic blocks seems to be a decent starting point. =)
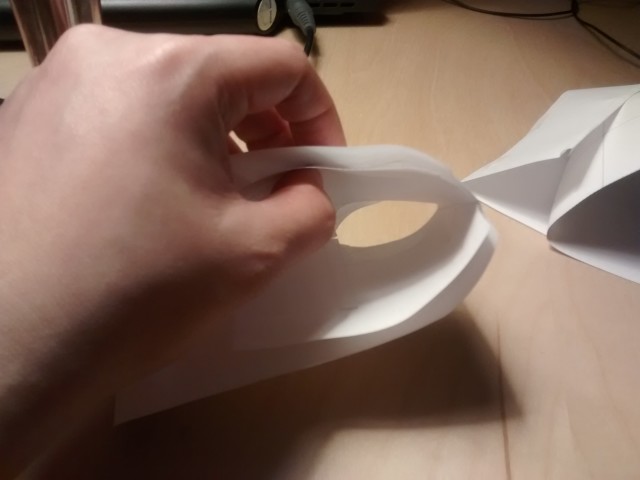
With the scaling factor in place, I did the math for dart manipulation. Darts help add shape to fabric, turning flat pieces into slightly conical structures. If you wanted to move a dart on paper, you could tape the dart closed, then cut a new line to the apex of the dart and spread the pattern until it’s flat again. (Wikipedia describes this as slash-and-spread.)
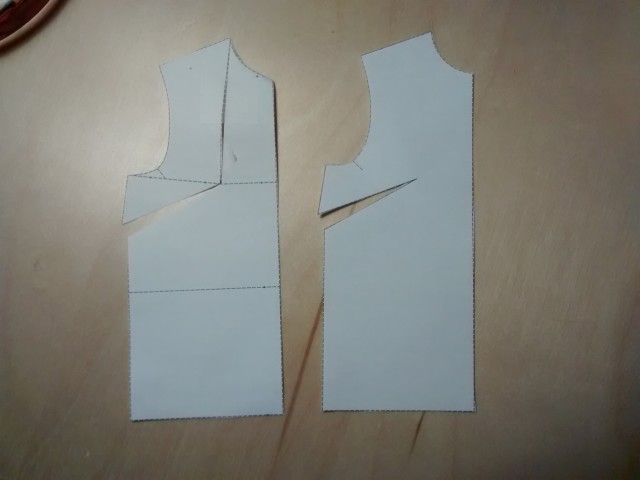
There’s an SVG rotate transformation that would probably make it easier to handle the rotation of complex shapes. I haven’t figured out how to add an SVG group in tmtp yet, though. Instead, I:
- Added a pair of points where my “cut” was going to be
- Calculated the existing dart angle
- Rotated one of the dart points, one of the new cut points, and the points in between – to make things easier, I specified which points to rotate
- Redrew the front bodice
I added a few library functions, so now the code to rotate a dart is pretty short. It takes an array defining the dart points (start, apex, end), and another array of the points to rotate around the apex by the calculated angle.
def rotateDart(self, dart_points, points_to_rotate):
    # Determine the angle of rotation
    angle = angleOfVectorP(dart_points[0], dart_points[1], dart_points[2])
    # Rotate the dart closed
    (dart_points[0].x, dart_points[0].y) = rotateP(dart_points[0], dart_points[1], angle)
    # Rotate the rest of the points
    for i in range(len(points_to_rotate)):
        (points_to_rotate[i].x, points_to_rotate[i].y) = rotateP(points_to_rotate[i], dart_points[1], angle)
    return
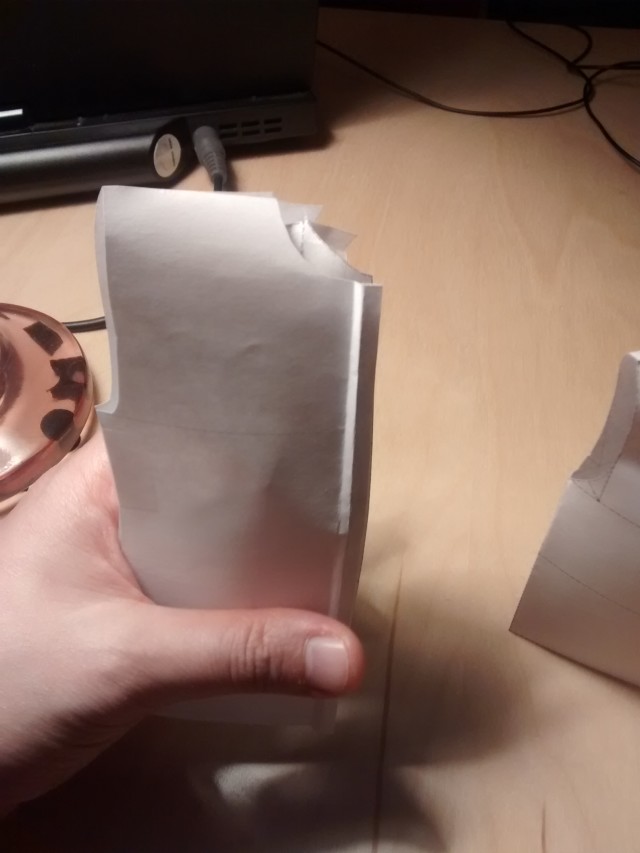
When I printed out my test pattern and cut it, the new pattern matched the result of slashing and spreading the dart on the previous bodice. Hooray for paper testing!
The next step would probably be to make an SVG slicer that converts large patterns into segments that can be printed on a home printer. It would probably move/clip the image, add cutting lines and labels for convenience, and export a series of SVGs. If I’m lucky, I might be able to find a Python library that will let me easily create a multi-page PDF.
More thoughts on sewing and programming: it would be nifty to be able to easily program variable seam allowances, so that I could say that one seam has a 1/2″ allowance and the other has a 2″ hem allowance. Lines should be pretty straightforward – just offset a parallel line by the specified distance. Bezier curves might be a challenge. In “An offset algorithm for polyline curves” (Liu, Yong, Zheng, and Sun, 2006), the authors describe a algorithm involving trimming the offset curves of a polyline curve. I should check out the approximation algorithms mentioned in their literature review – might be an easier thing to start with, especially if I can wrap my head around the way the existing code’s curveLength function interpolates curves. Or I can leave the addition of variable allowances as a human step. It’s not that hard with a seam allowance ruler. Still, it would be neat to have laser-ready SVGs… =)
Anyway, now that I’ve got a simple way to test things on a small scale and a bit more of a handle on the math, I’m looking forward to playing around with generating actual patterns instead of just basic blocks. Whee!