Colour update
Posted: - Modified: | drawingI think I'm getting the hang of playing with colour.
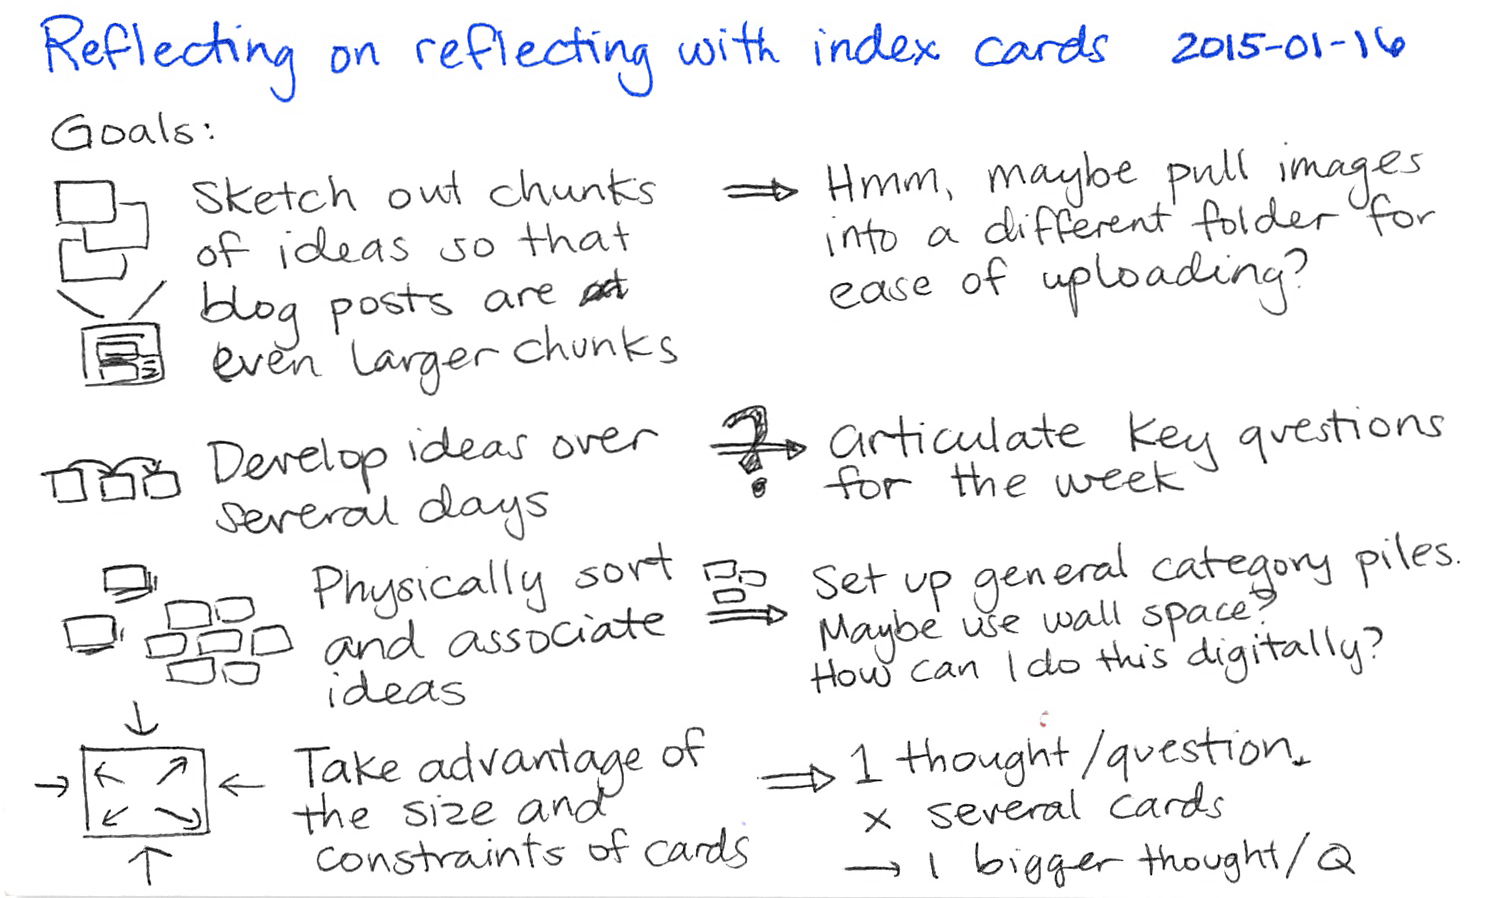
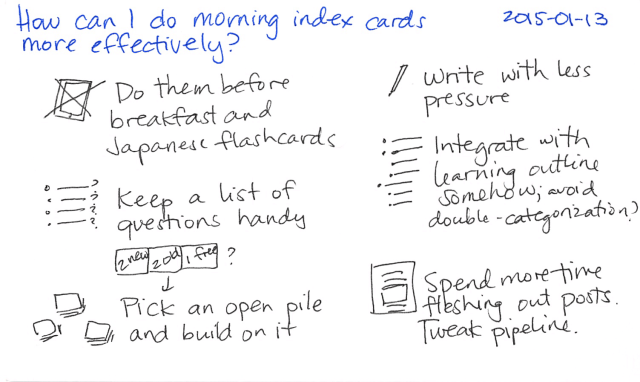
I started by digging out the coloured pens that W- gave me a long time ago. They still worked, yay! I started mixing green (and sometimes red) into my index cards. Sometimes I remembered to draw with them from the beginning, and other times I drew over black ink.
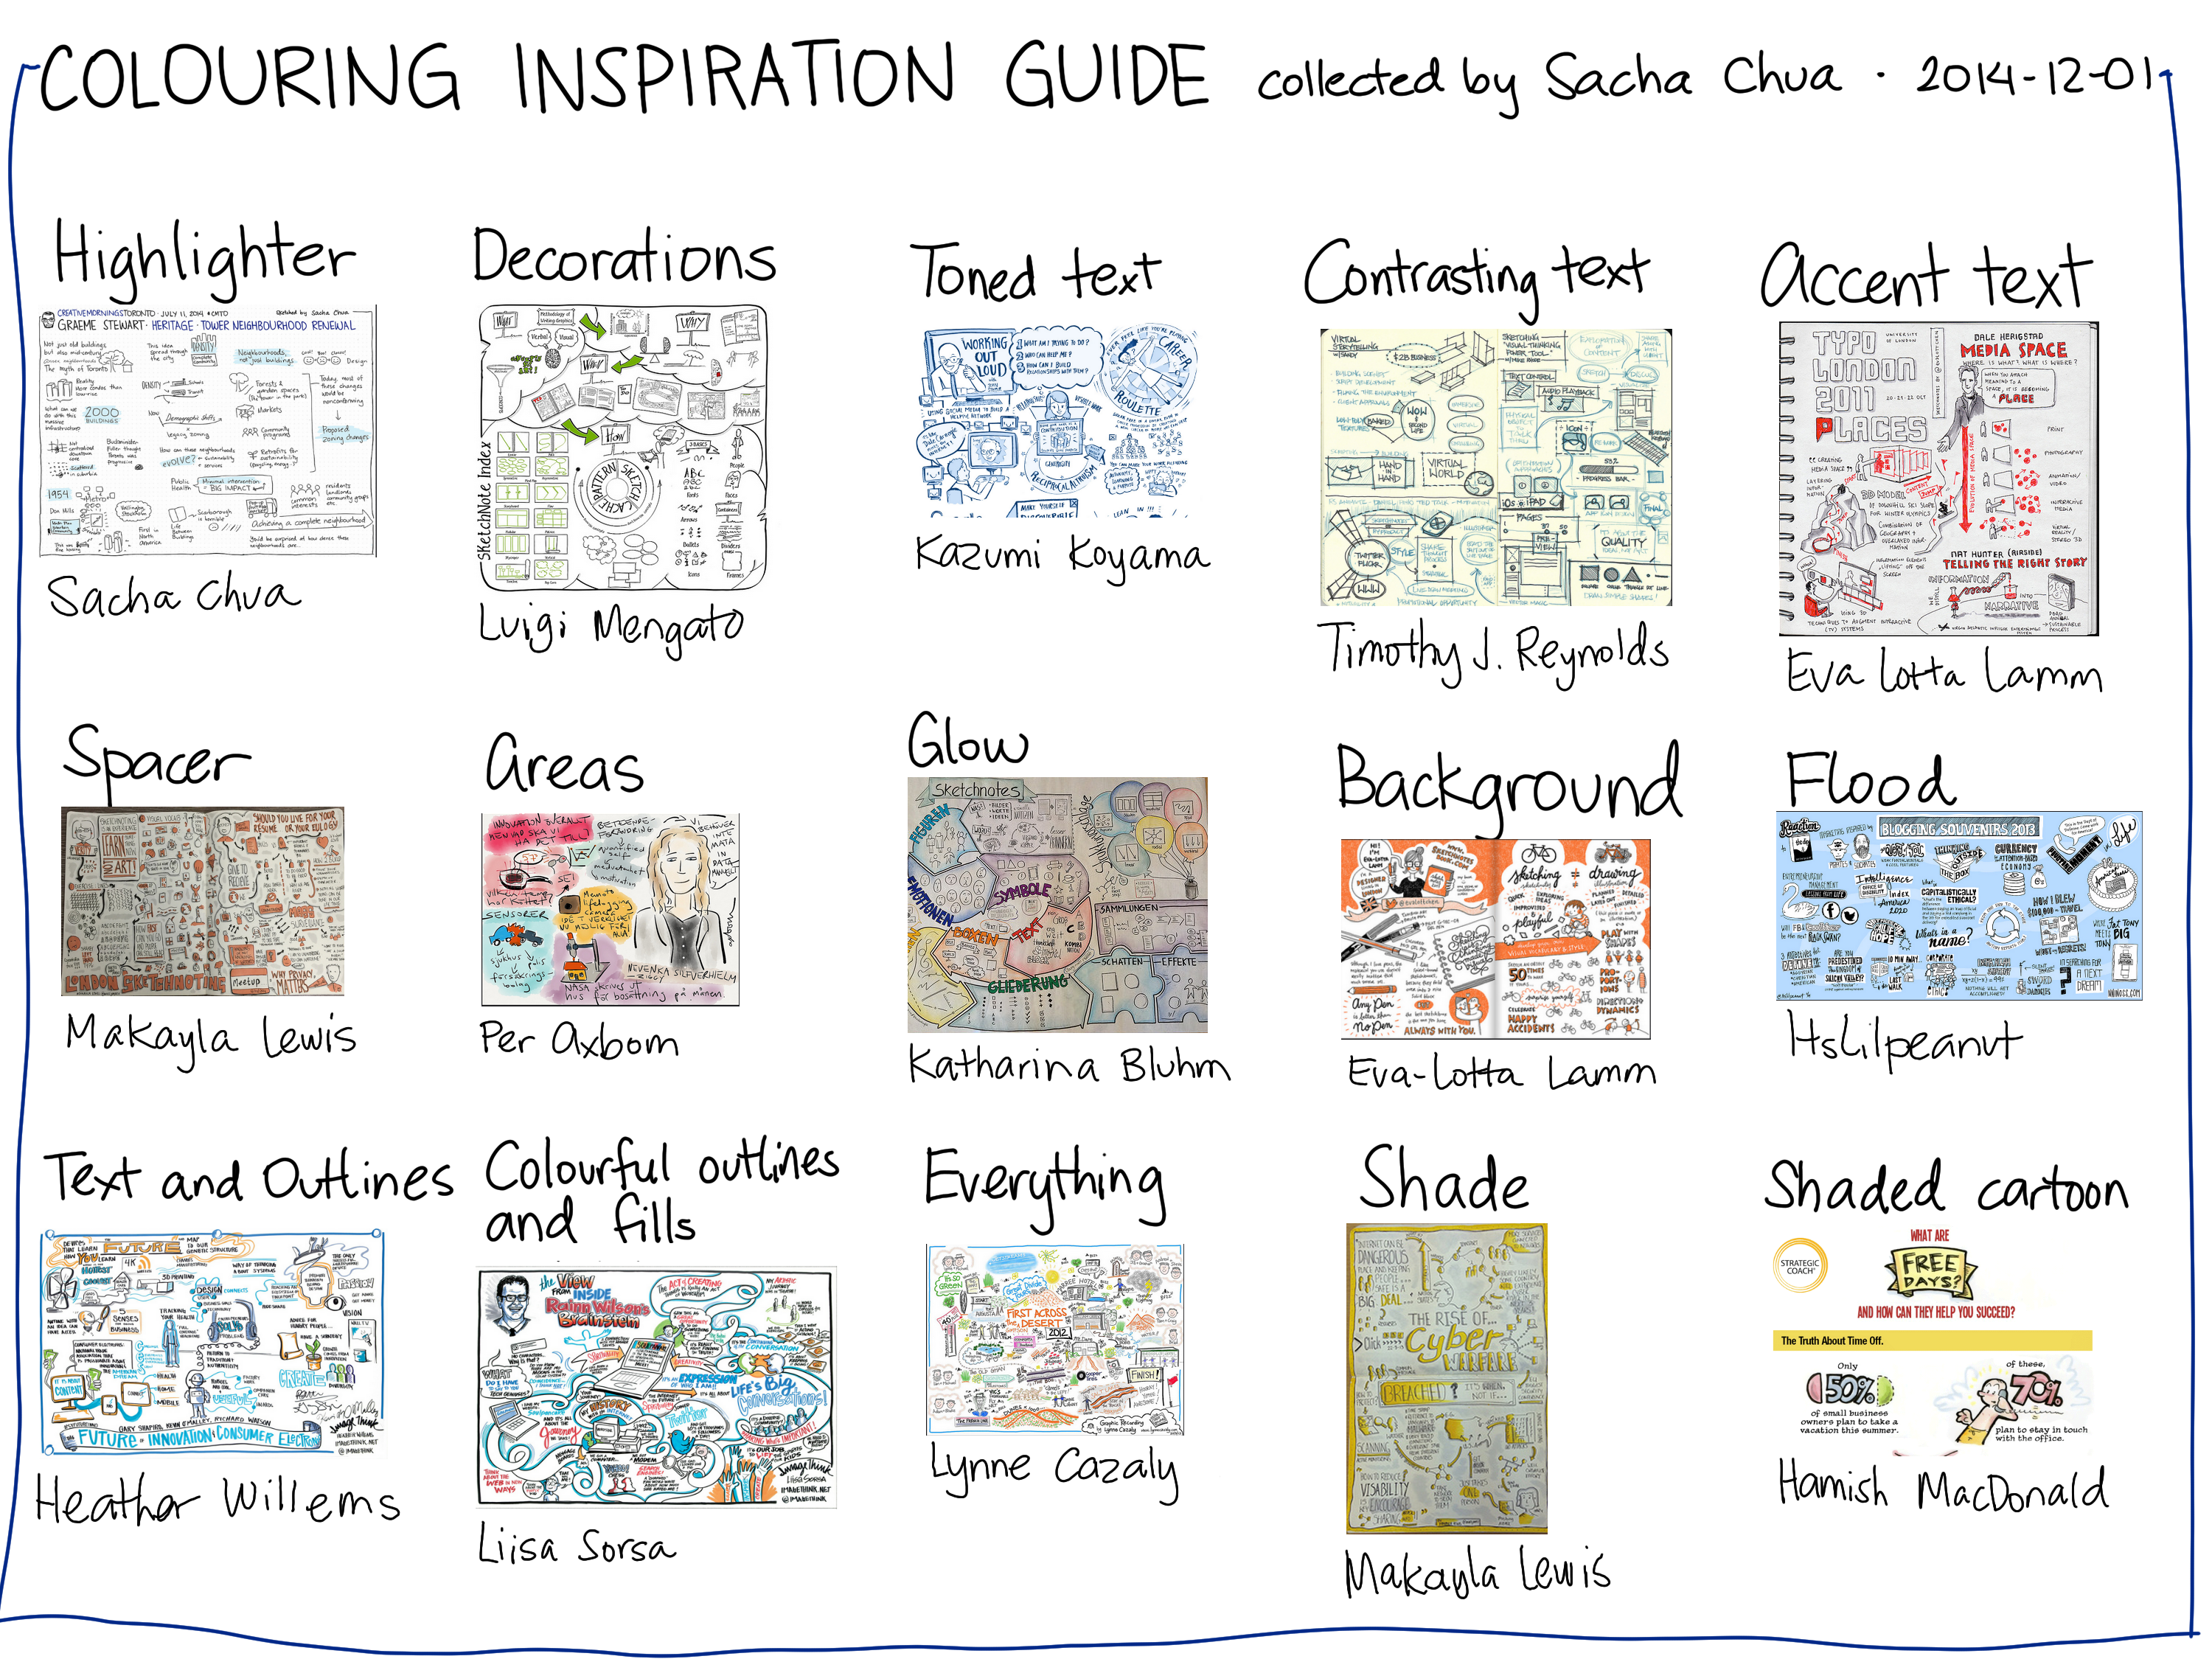
While going through my drawer, I came across a ten-pack of Sharpie accent highlighters and started using them too. I highlighted the cards before scanning them, which gave me an opportunity to review the card and think about what was important. I liked the highlighters more than the pens because the colours were more vivid. It was fun putting together blog posts that had index cards with different colours on them.
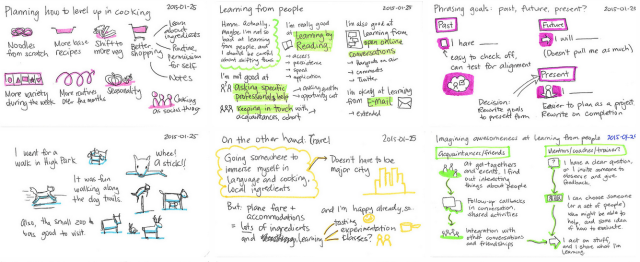
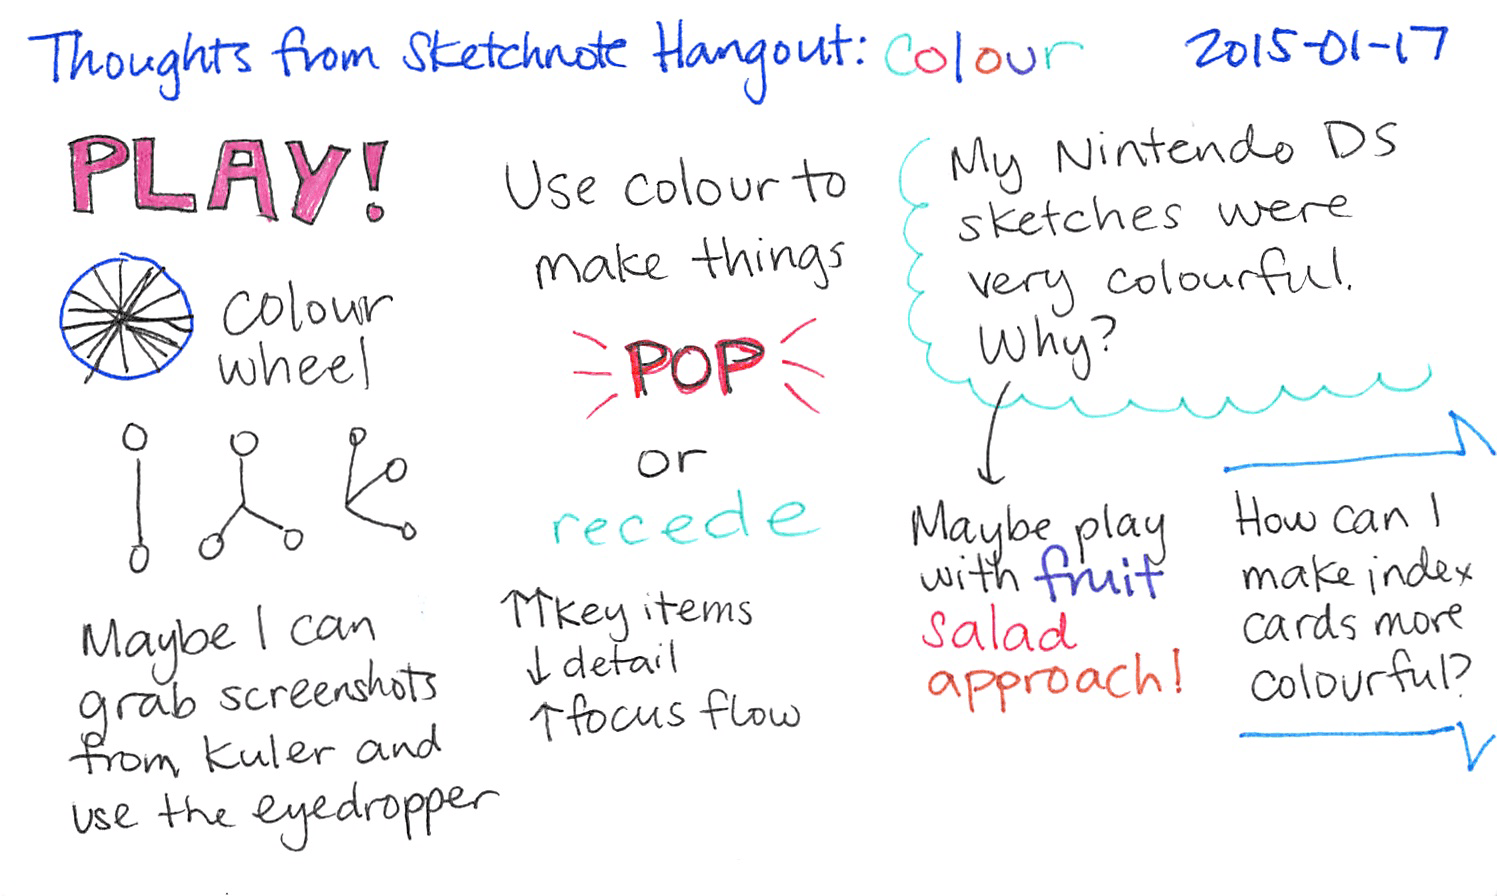
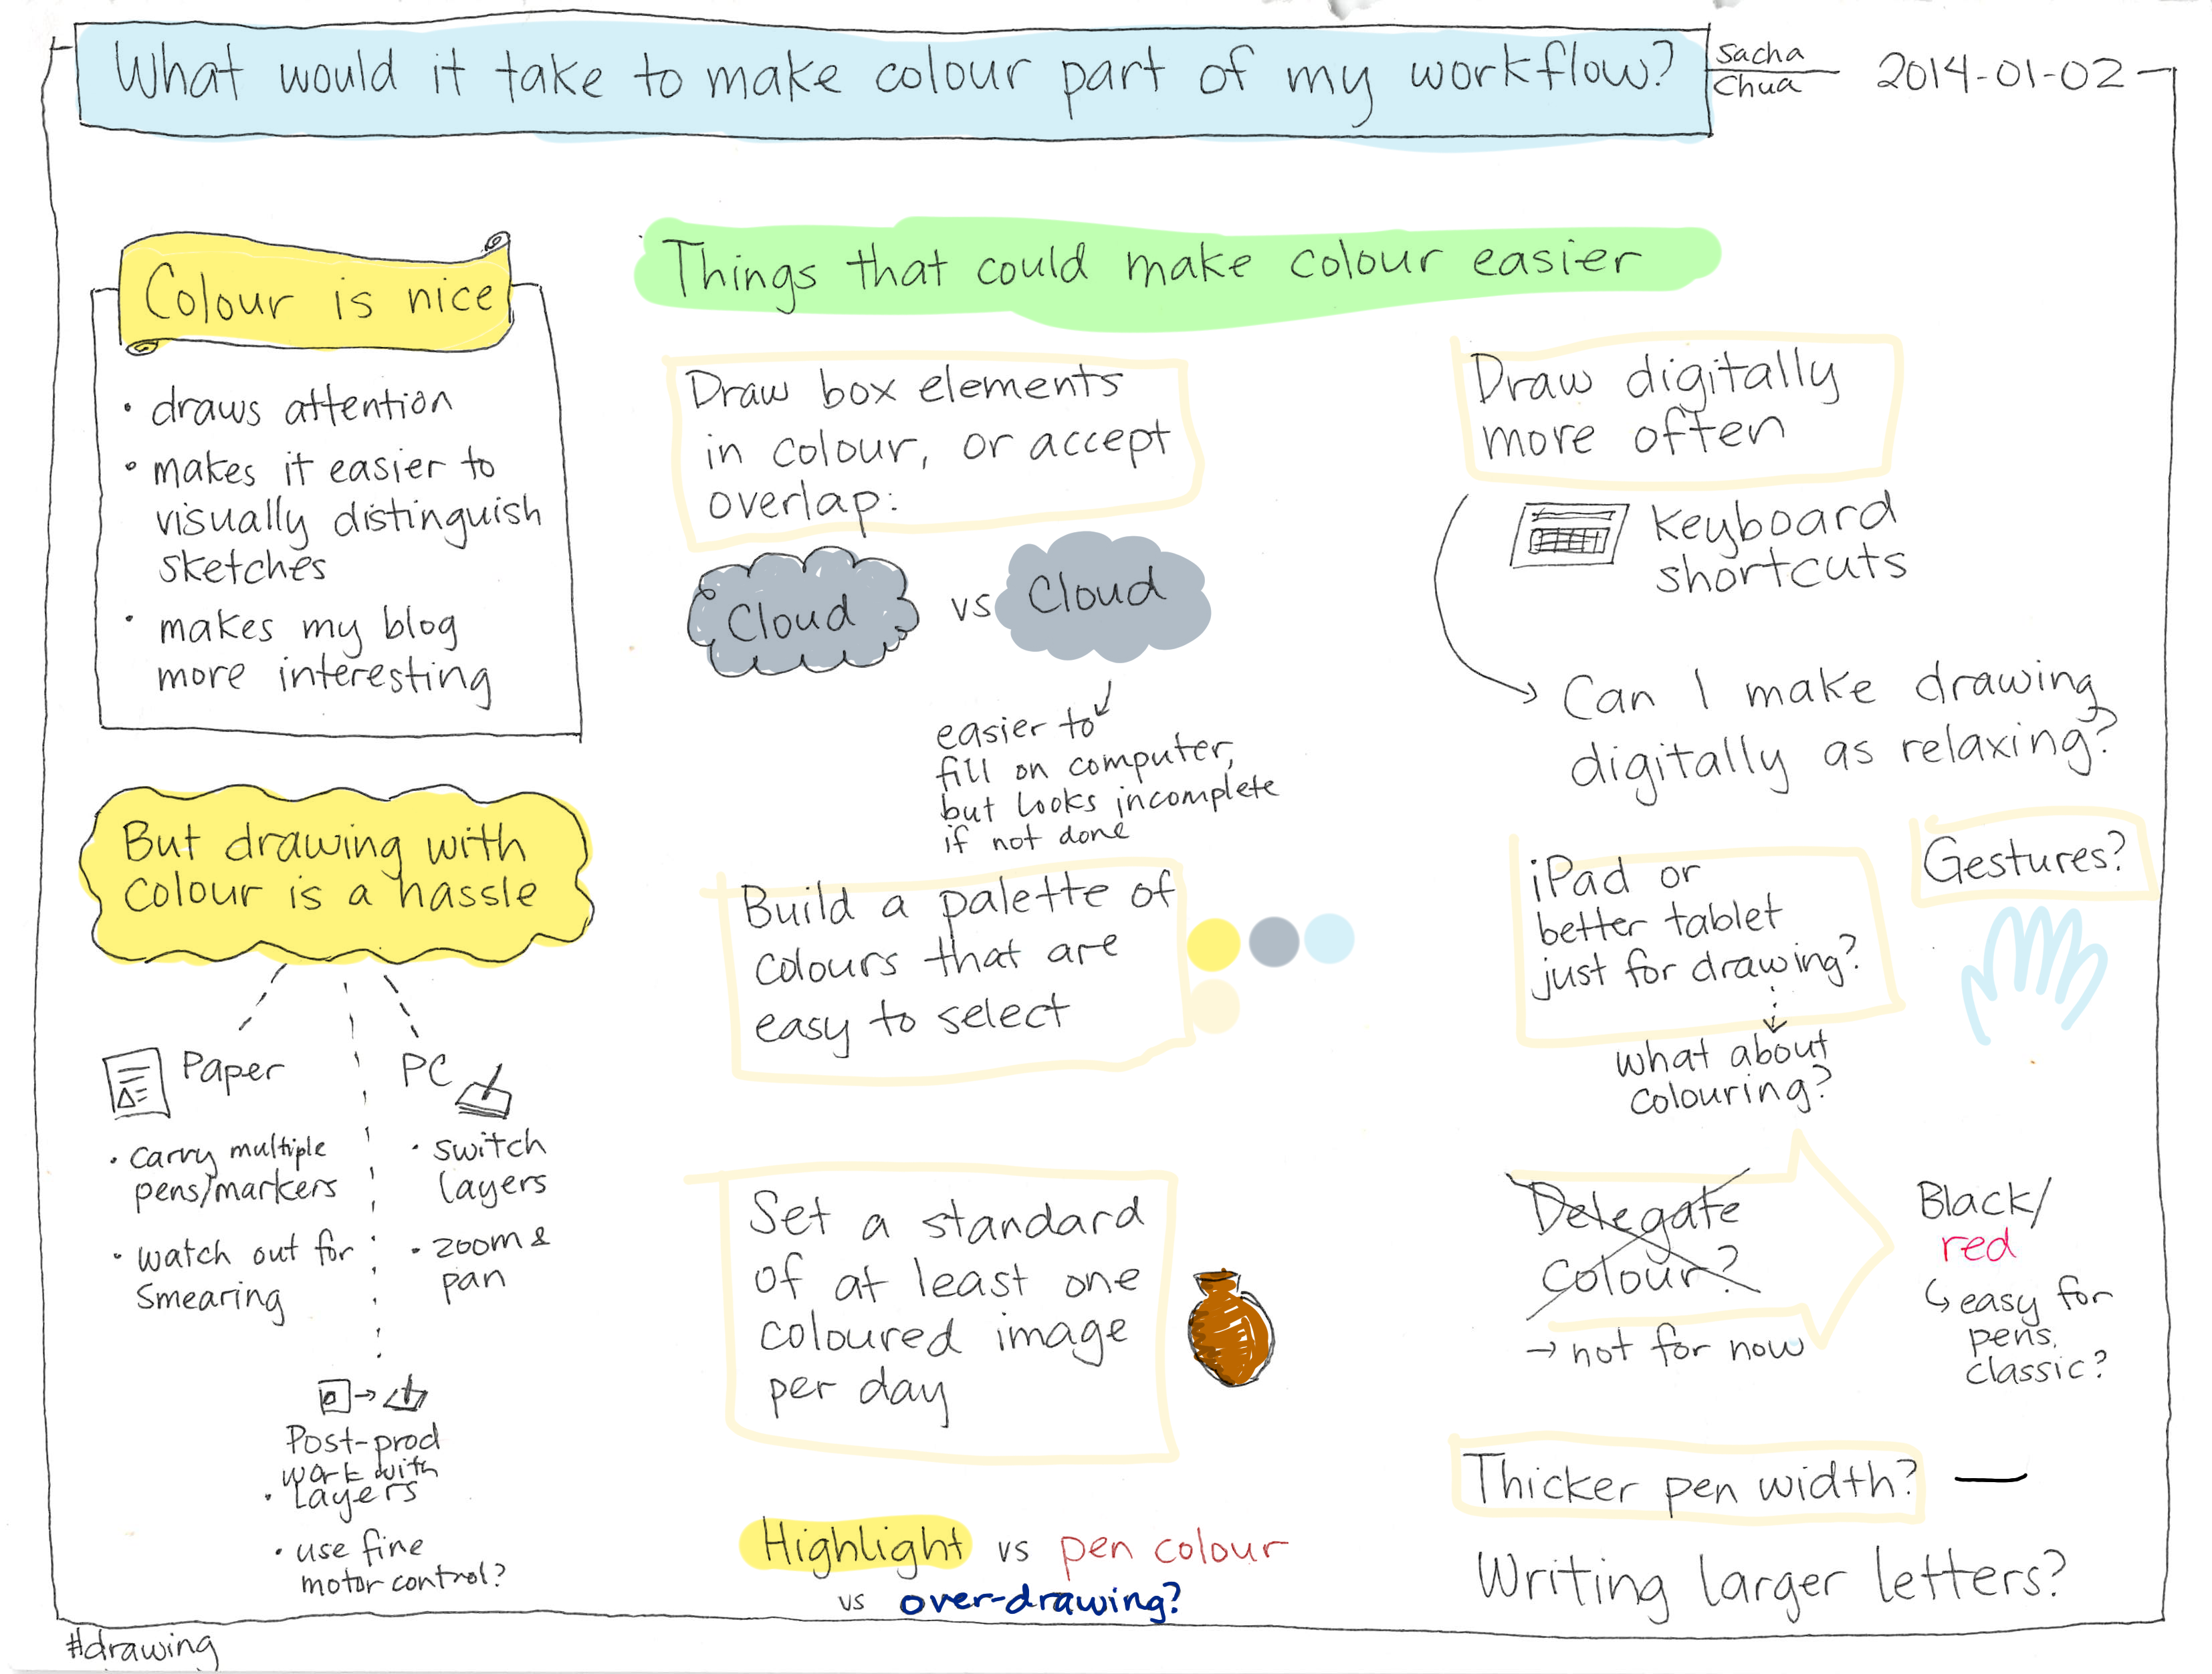
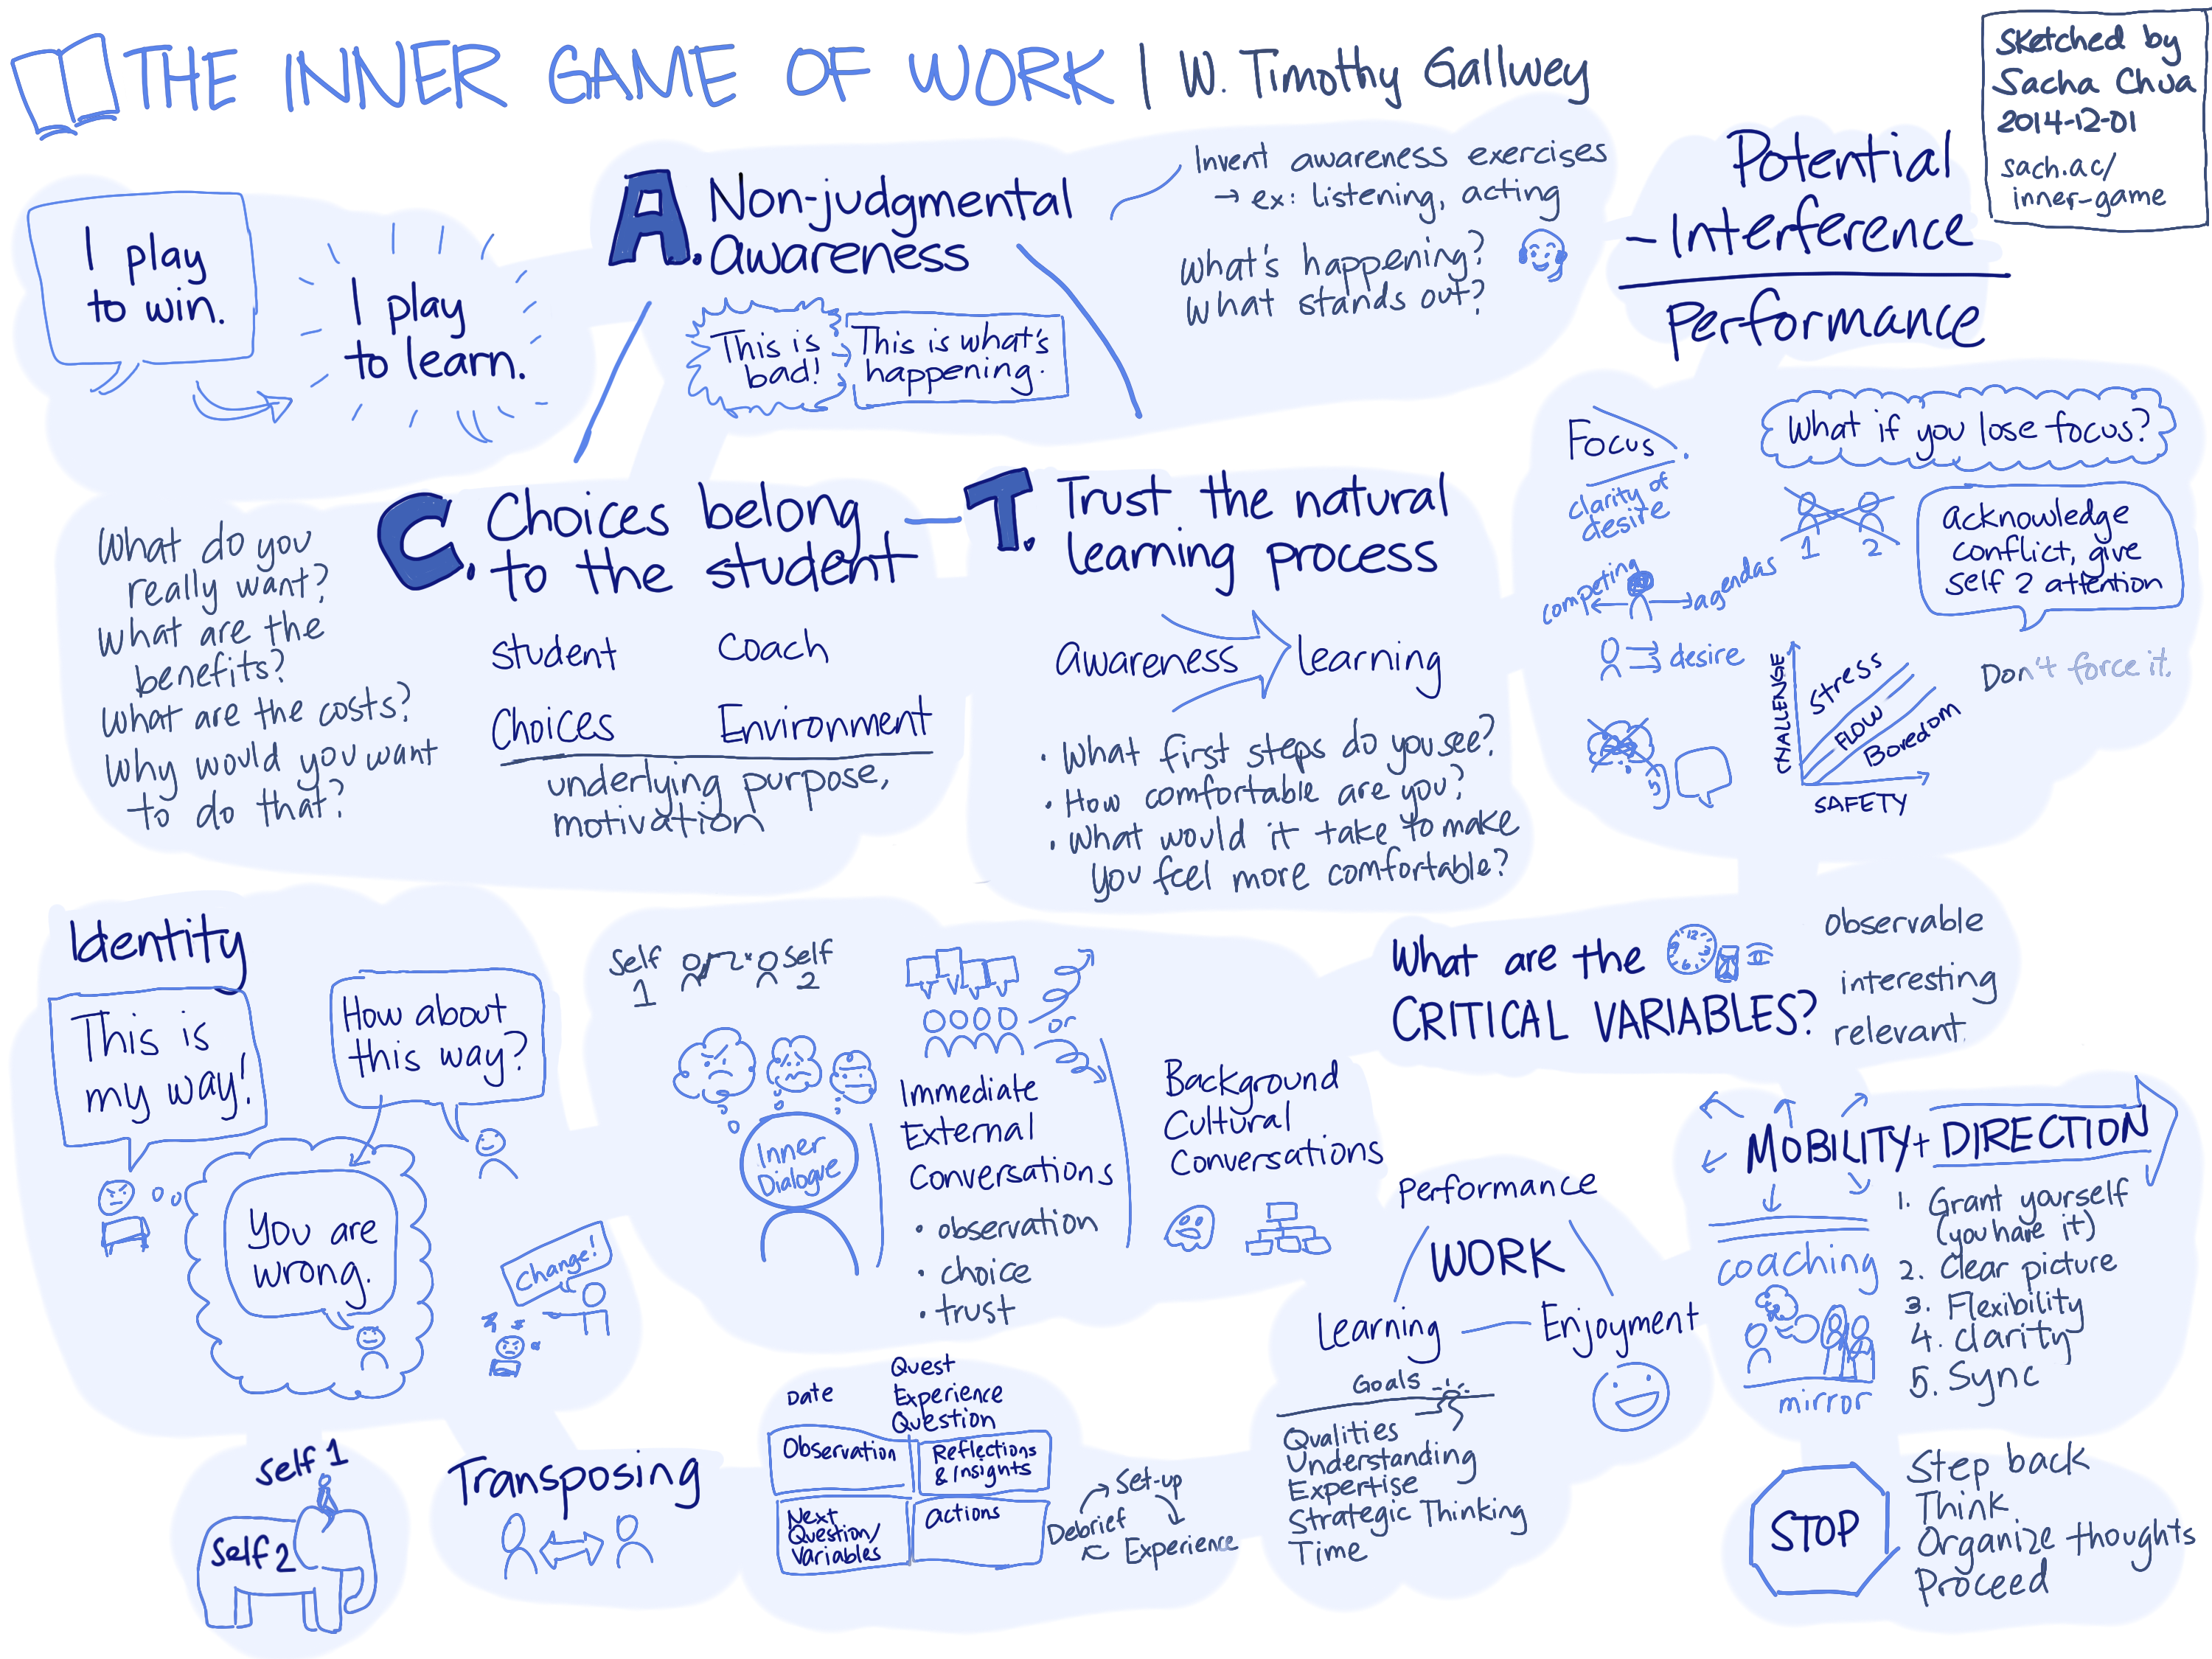
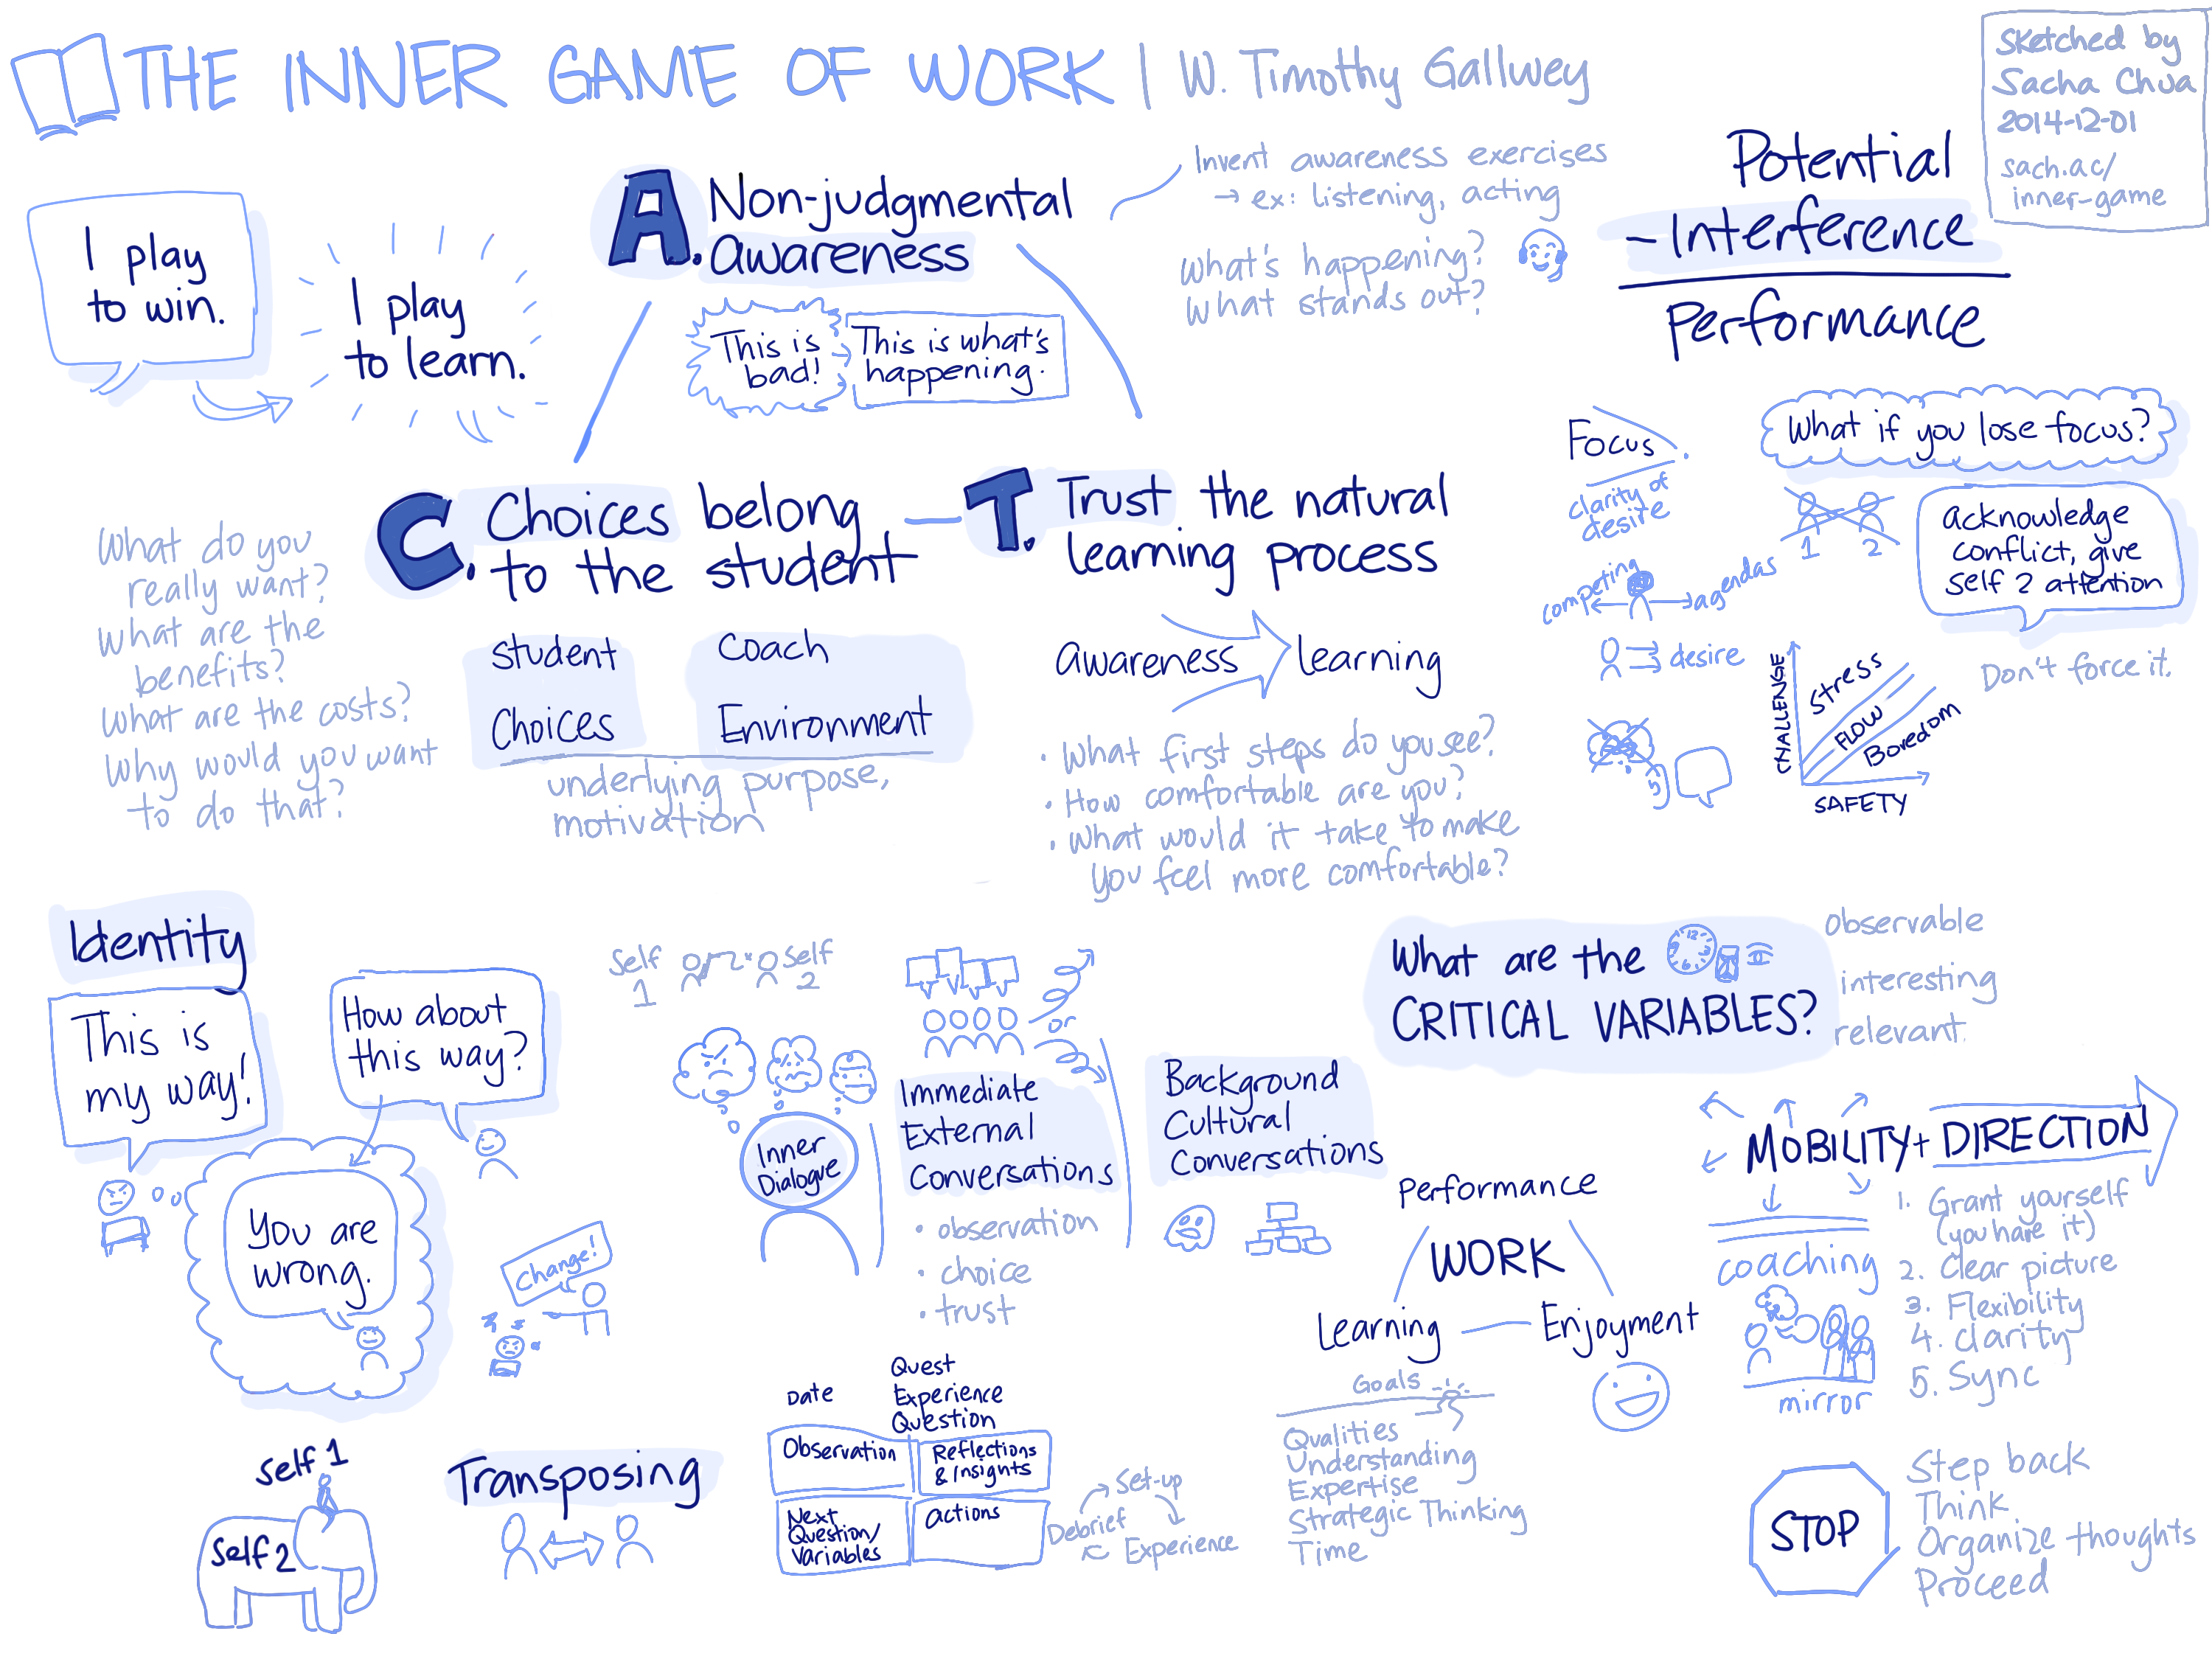
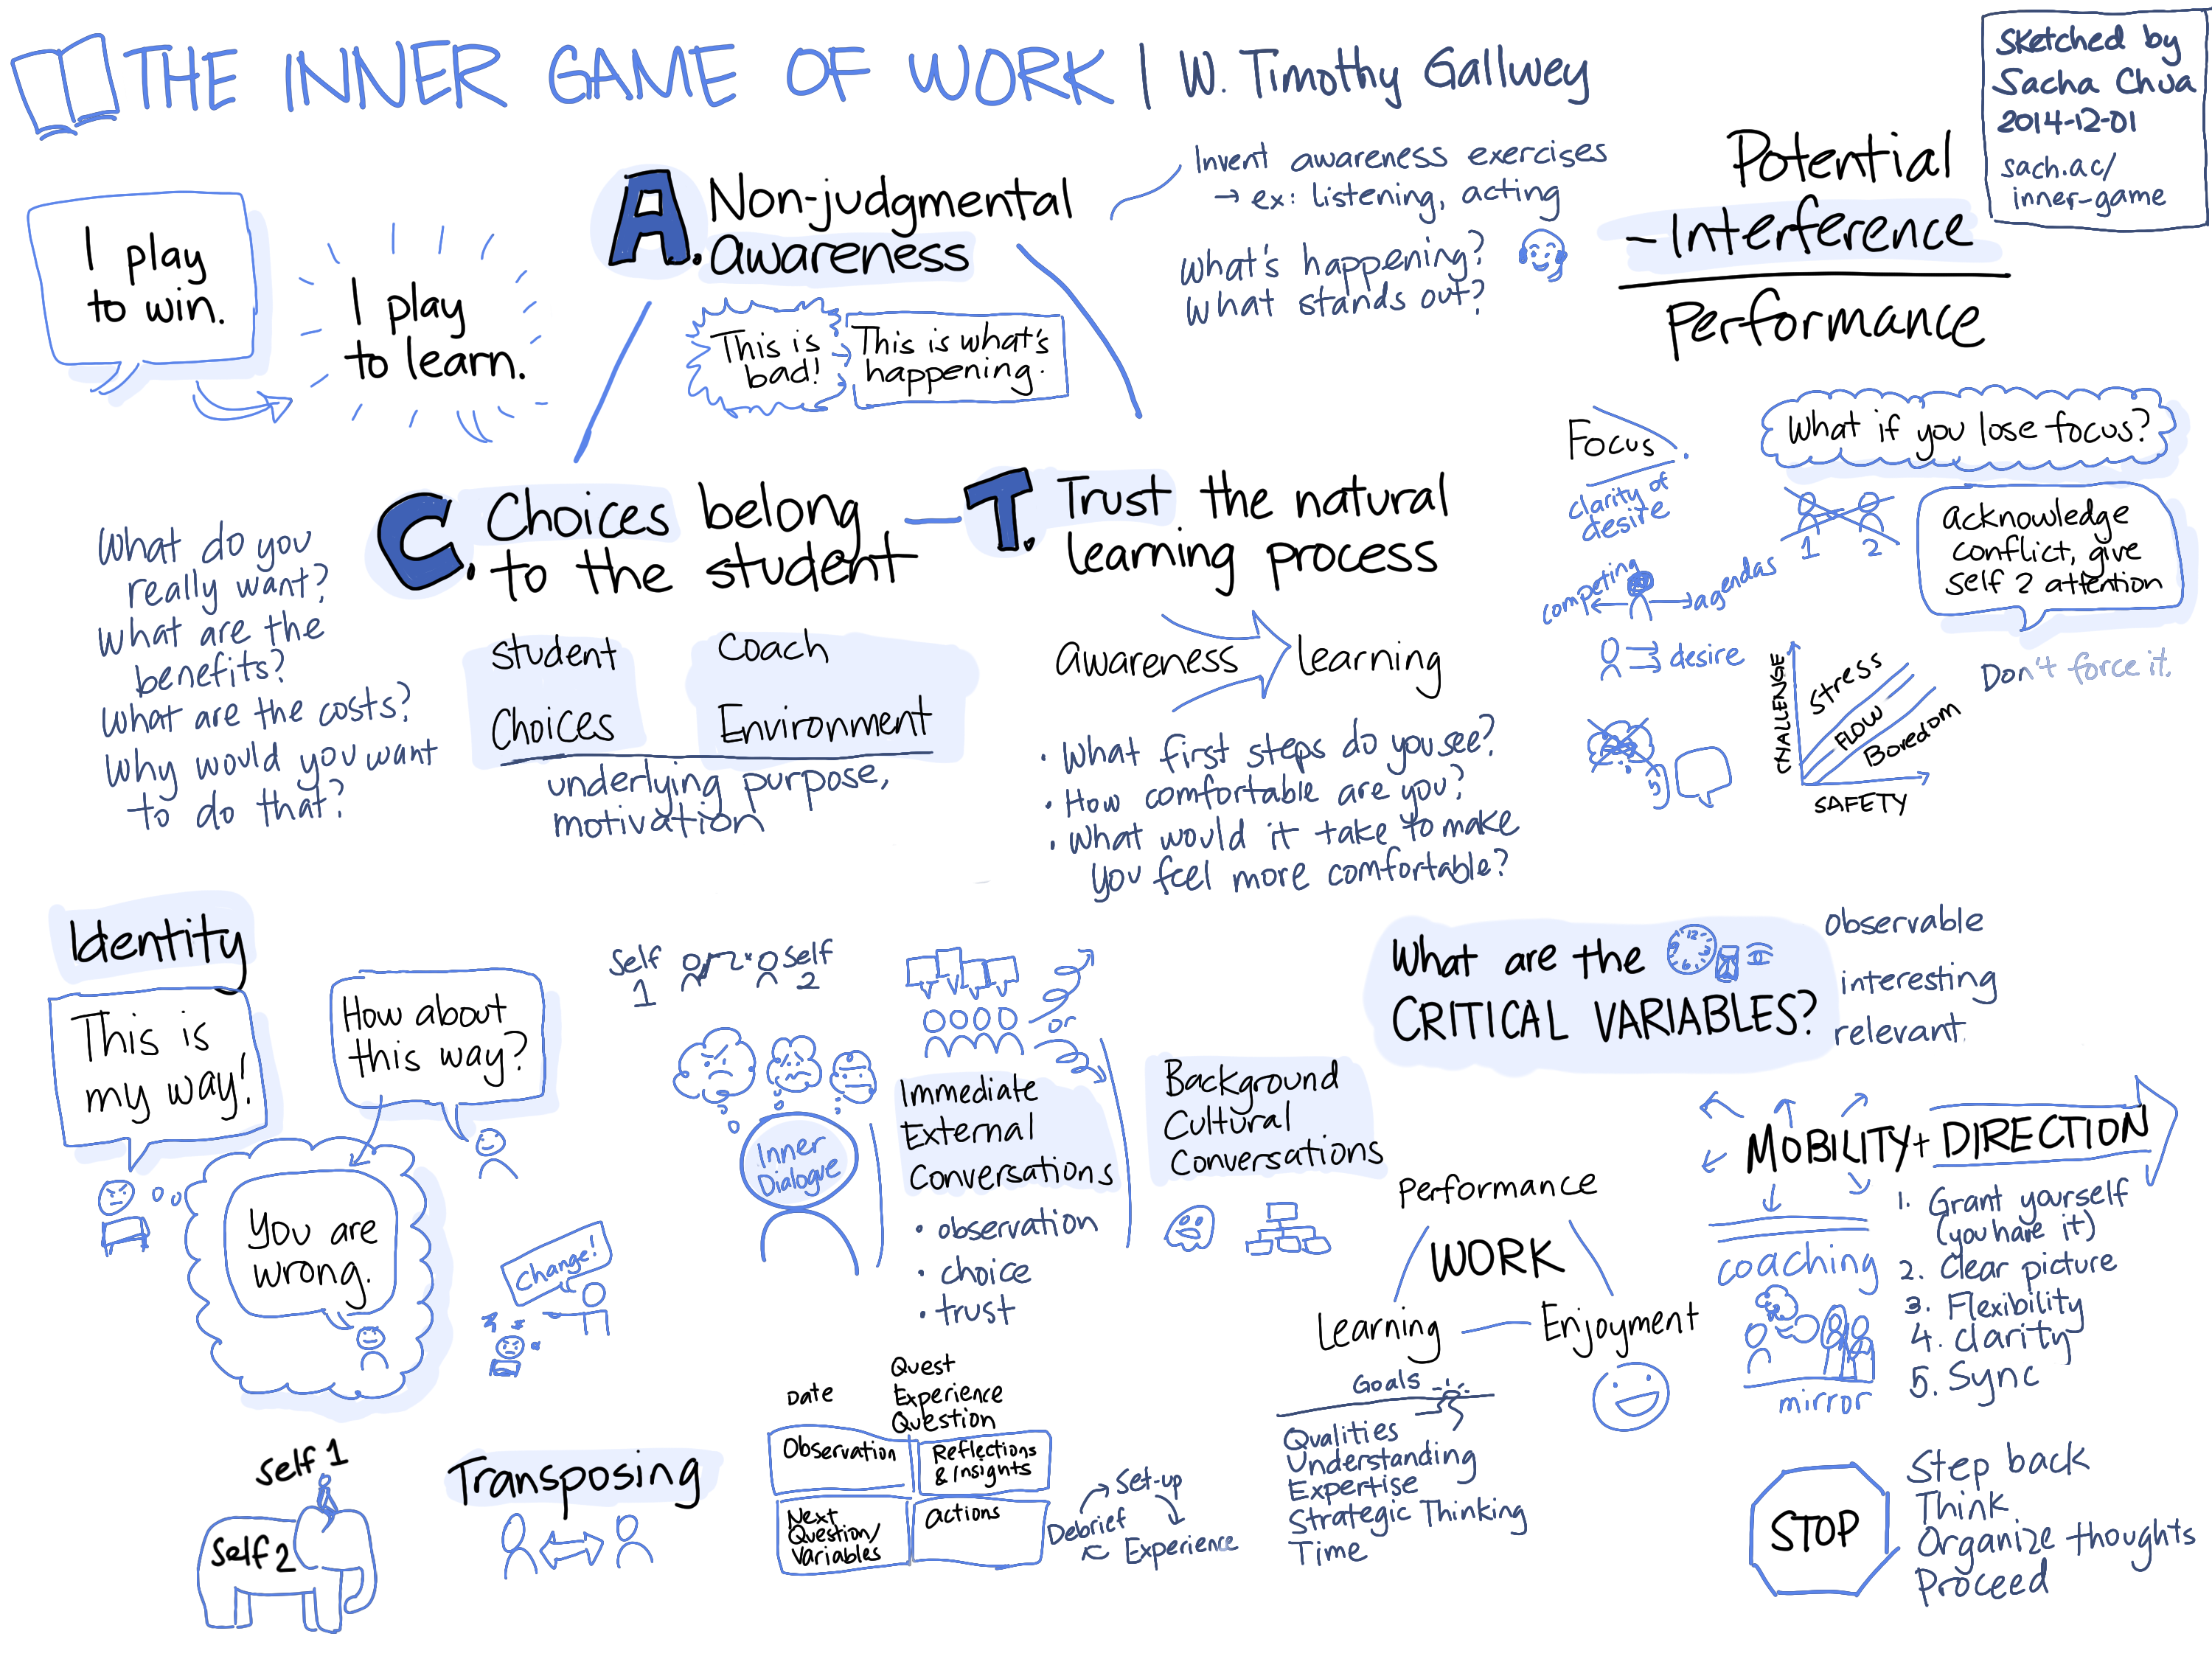
Now I've been experimenting with digital colour. I like this even more than the highlighters, as I get to pick any colour I want and I can erase or layer things as needed. To colour these, I added a layer on top of my image and set the layer's mode to Multiply. The last image in this set was done with a Sharpie marker, since there were a bunch of coloured markers at the lab.
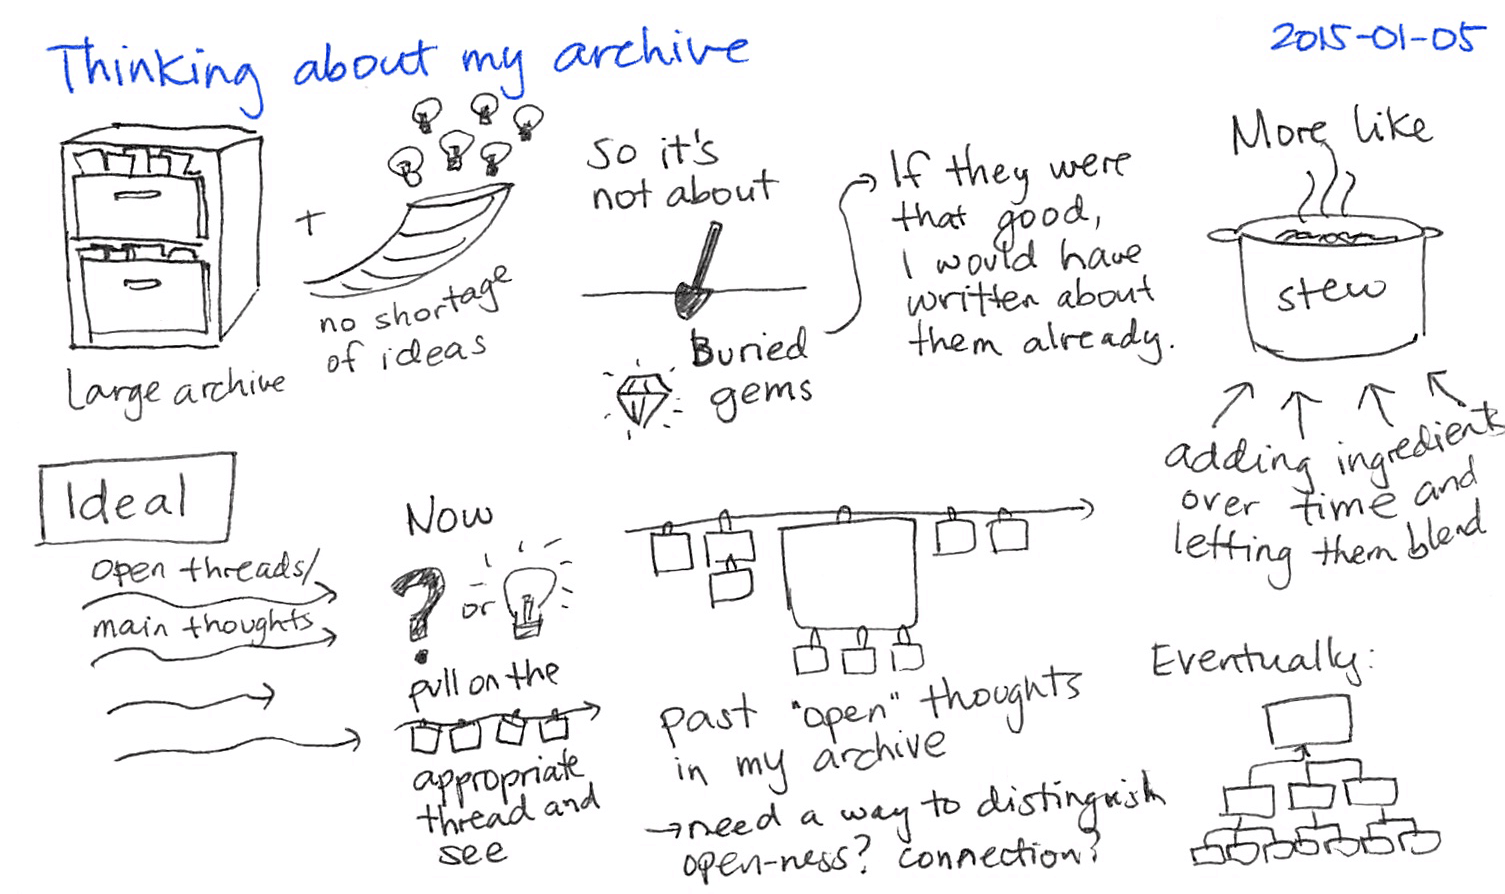
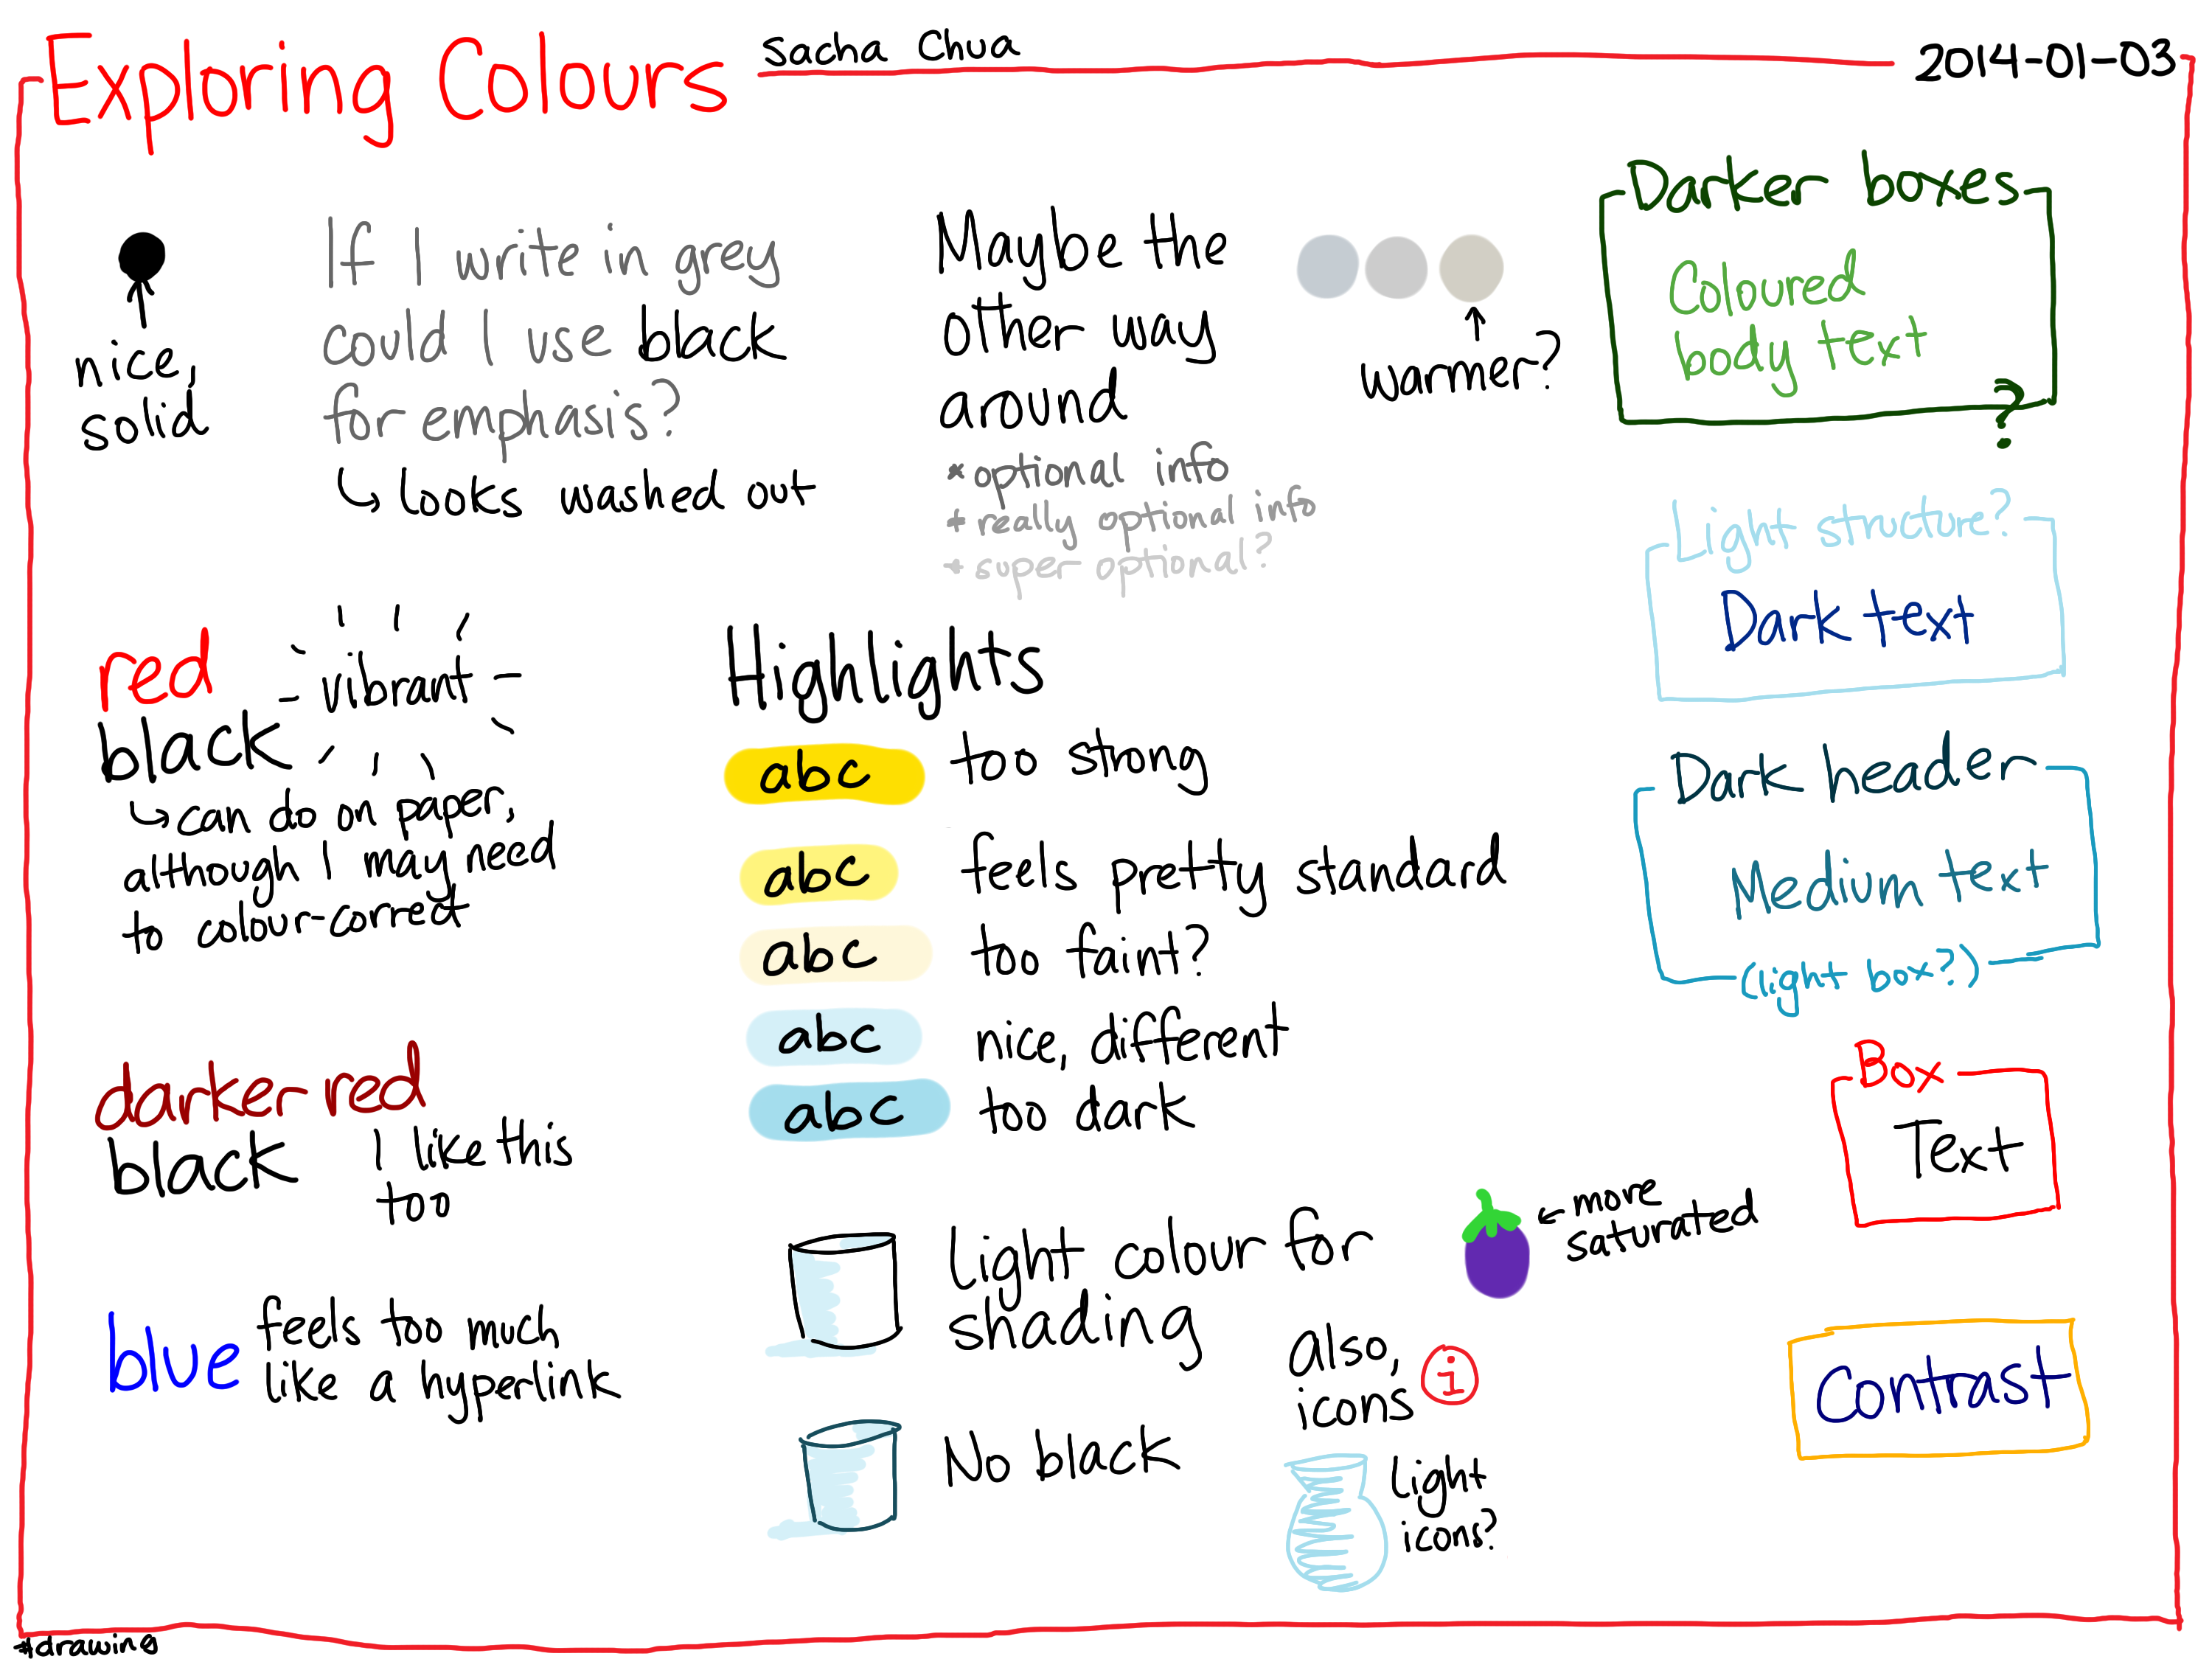
It's surprisingly relaxing to colour things on my computer. I think about what colours different concepts feel like, pick a colour from the Copic colour swatches built into Autodesk Sketchbook Pro, and paint it onto the scanned index card. While I'm doing that, follow-up questions sometimes occur to me.
I've also been thinking about how I can draw more of these index cards on my computer. I'm going through quite a lot of index cards and I'm just about due for a pen refill, so maybe there's a way I can draw more on my computer while reducing the mental friction. Hmm.
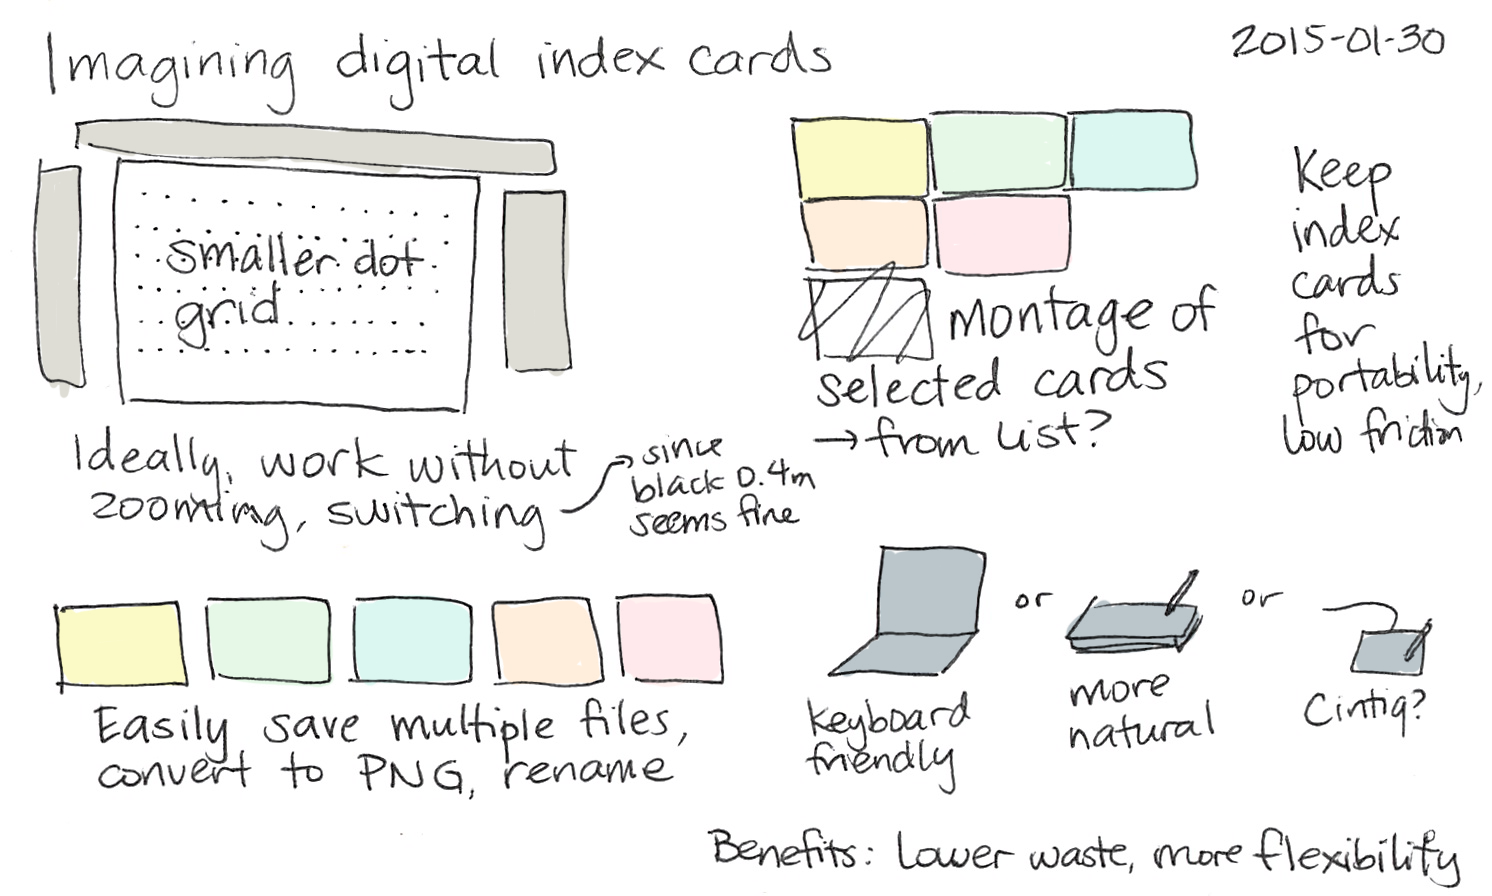
There are trade-offs, of course. It's not as easy to see other cards or organize them into piles, and my computer isn't as handy or as portable as a deck of index cards. But still, it's fun.

Some other ideas:

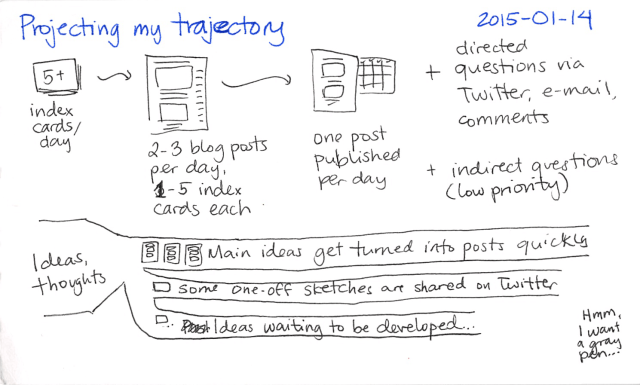
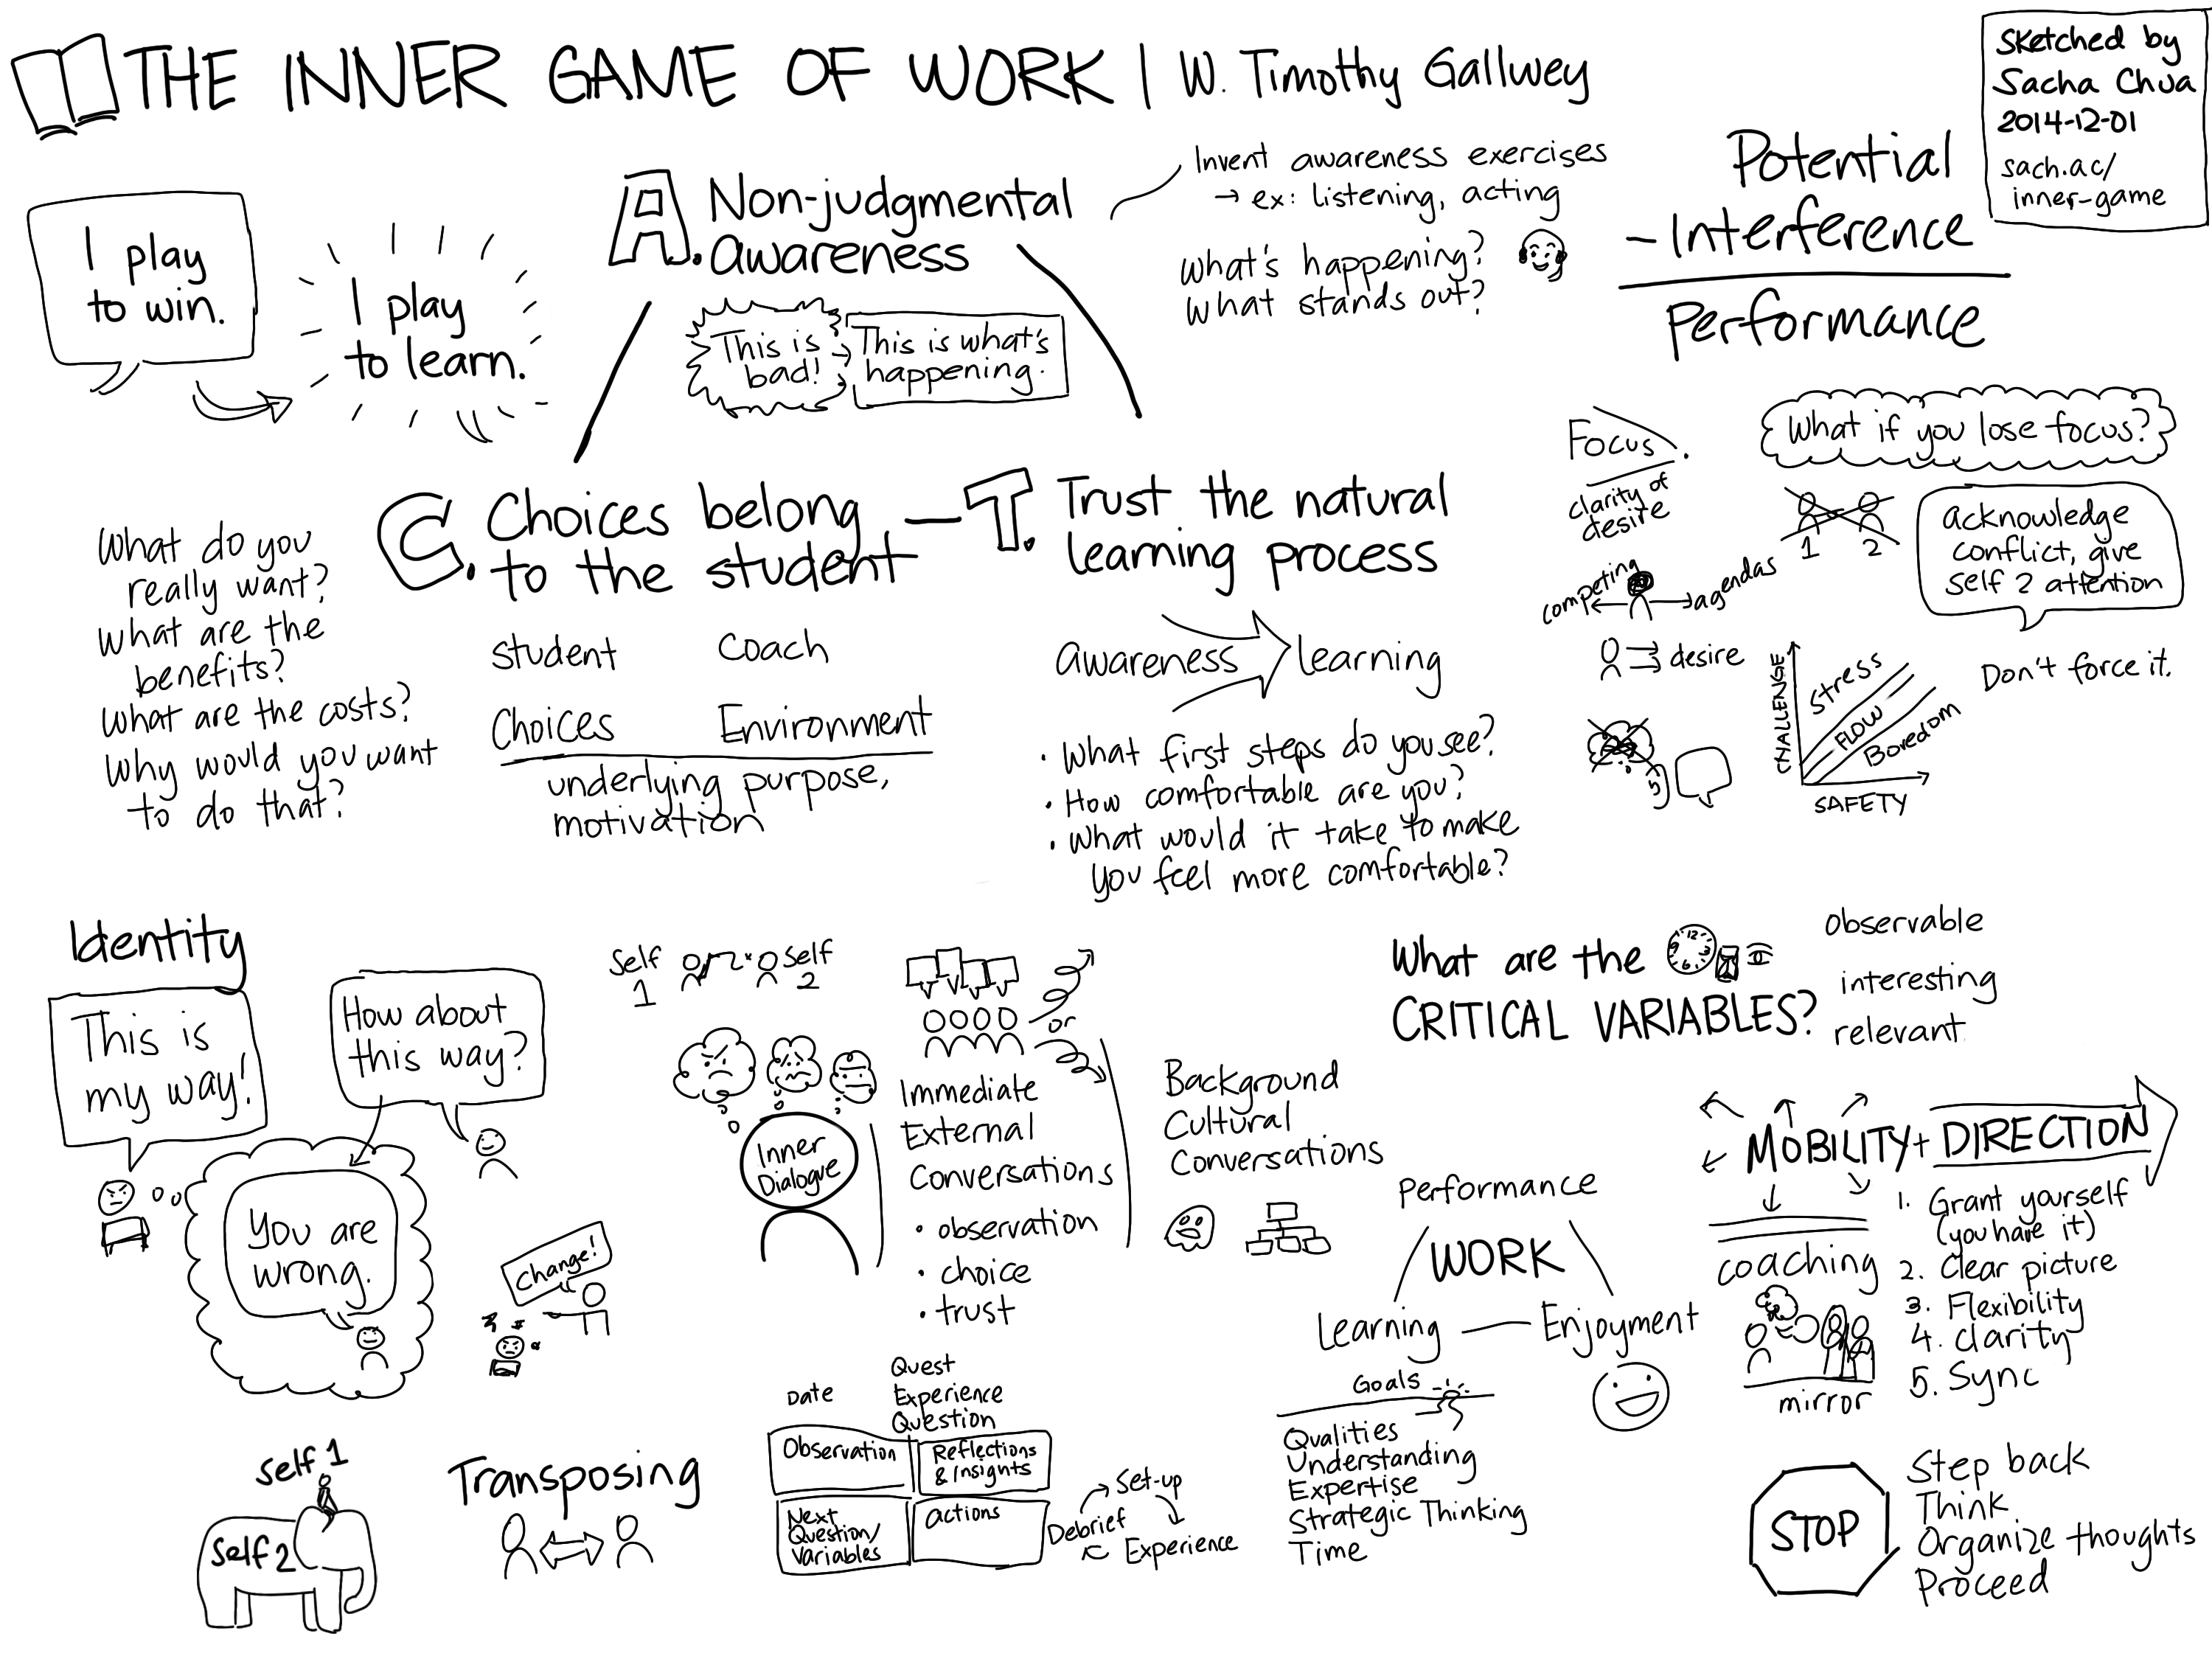
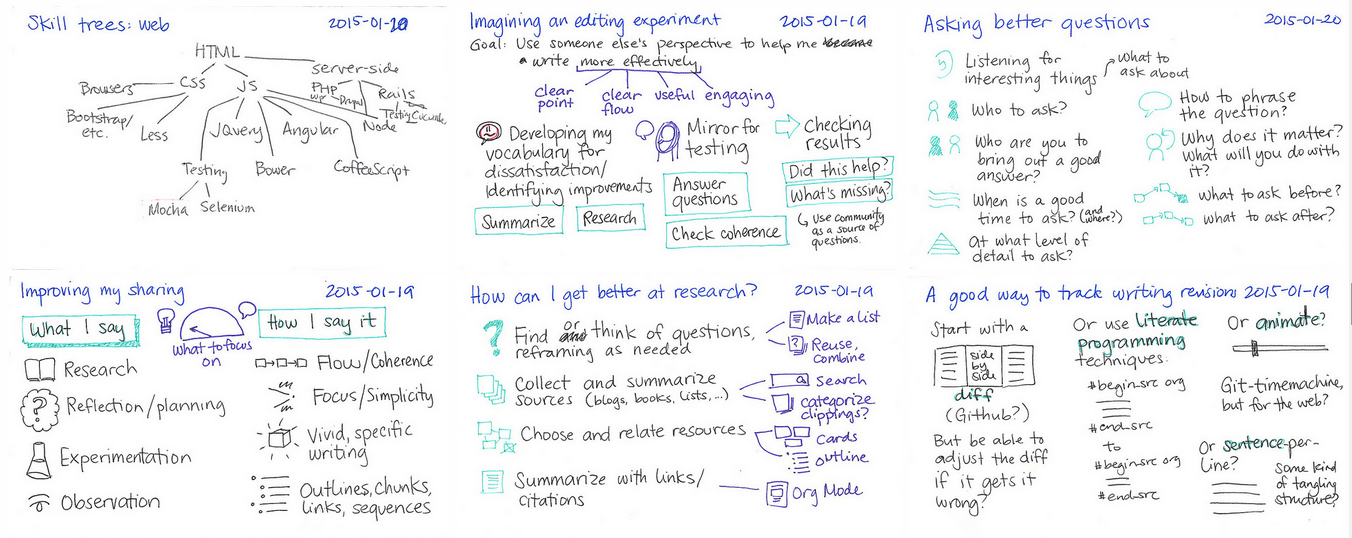
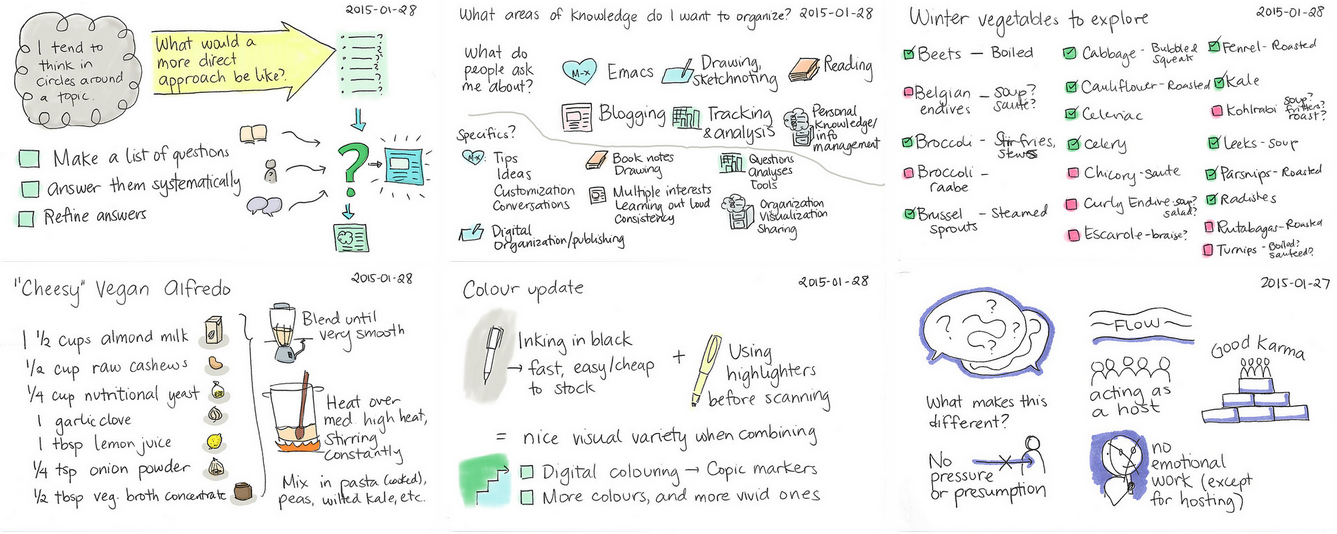
Drawing on my computer gives me more flexibility, since I can move things around or use whatever colours I want. The main thing I need to do, I think, is to calibrate the aspect ratio and the grid size so that the digital sketches feel like my paper ones, since an index card seems to be a good size for thoughts. I think that drawing digitally also nudges me towards more colourful sketches. Here's an example "index card" that I drew on my computer:

Hmm. Actually, digital index cards are working out wonderfully. I've been tweaking my workflow and I'm quite happy with the reduced friction.


I'm still not as comfortable with vibrant colours as I used to be, but I'll get there. And yeah, it feels a little indulgent to spend the extra couple of minutes colouring each card (not that the thoughts on those cards are particularly insightful or worthy of attention), but it's fun and it helps me learn.
Whee!