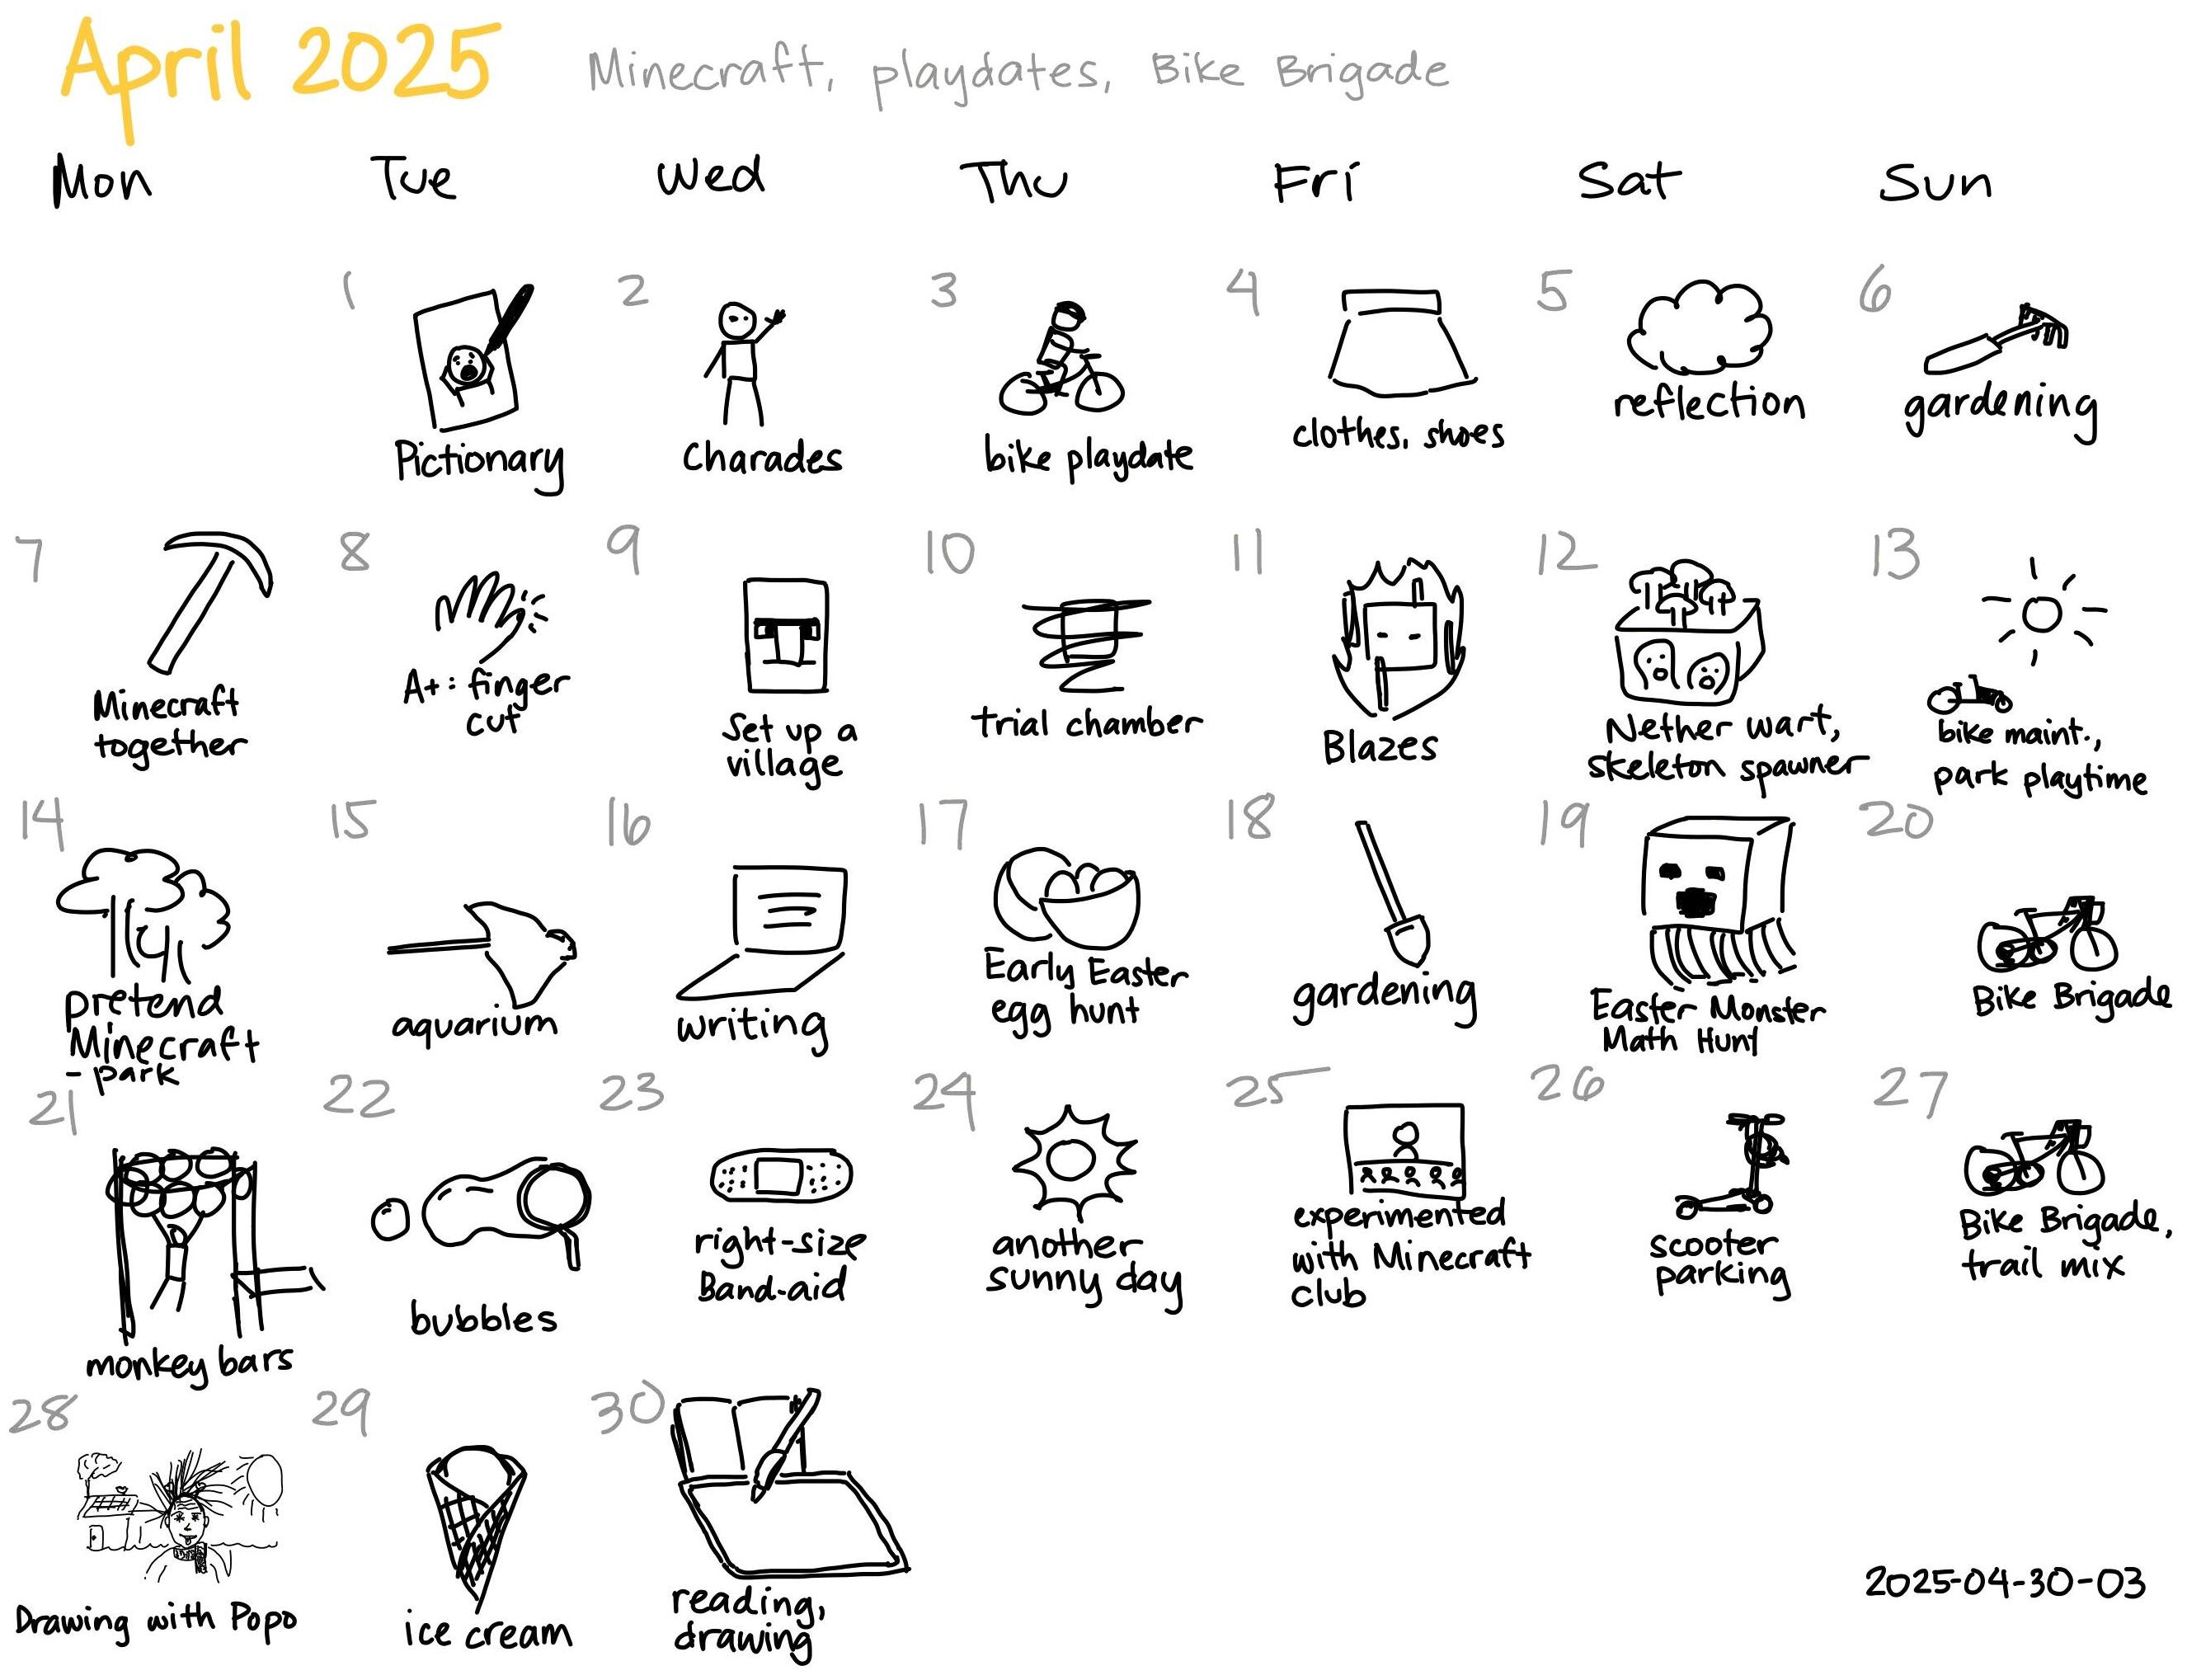
A number of A+'s friends play Minecraft, so she got curious about it
and started reading lots of e-books. We figured it might be time to
let the video game genie out of the bottle since she tends to dive
deeply into new interests and learn a lot. I wanted to get her started
on Minetest, though, instead of buying one of the Minecraft editions.
(Yay free and open source software!)
I installed MineTest, then used the Content tab to install MineClone 2
and the tutorial. I updated the other X220 so that I could run it
there too, and we eventually turned it into a server. I went through
the tutorial and then I showed it to her. We drew up an agreement to
treat it the same as video time (20-minute timers for eye breaks,
daily limits, need to be in the green zone). W- connected the other
X220 to the TV with a VGA cable, and I used a USB hub to connect two
keyboards and two mice to the laptop. A+ completed part of the
tutorial. She found it hard to work the keyboard and the mouse while
looking at the screen. She liked giving me directions to follow,
taking over clicking or crafting whenever she felt comfortable.
We've been playing MineClone for almost a week, and it's starting to
feel comfortable. We have a little base with a wheat/carrot farm, a
well, and a fishing pond, and we're exploring the world. We might try
creative mode in a while.
It looks like A+'s mostly curious about mobs, farming, ores, and
flying around. She loves noticing things to explore and new recipes to
craft. W- sometimes joins us, which is extra fun and helpful.
Minetest gives me opportunities to learn useful things, too. I'm
getting better at saying yes to A+ when she wants to craft something,
even if I wanted to save the materials for something else. (I should
make a MineClone version of the reminder in our kitchen that says
"Groceries are tuition for raising a cook.")
I'm still too impatient for the regular process of navigating around
and bumping into resources, especially since we're working within
20-minute segments. I flew around with noclip/fast and set up some
Travelnet boxes near interesting things, which A+ has liked a lot
because now she can teleport independently.
I'm way too chicken to deal with damage, hostile mobs, or even night
time at the moment. Since A+ would really like me to go fight the mobs
she loves to read about, I'm thinking about how to gradually build up
my courage with some kind of exposure therapy. =) I started learning
how to modify armor so that I can keep myself mostly protected while
leaving damage enabled for anyone who's braver (like W-). Maybe as I
get the hang of it, I'll be able to dial down the protection or just
let it keep a minimum HP level.
~arnebab/vorlesung-netztechnik - lectures about network technology with Org Mode source, in German, with a Makefile that generates thumbnails (Mastodon)
So I checked out emacs-cube, but I had a hard time figuring out how to
work with the data model without getting into all the rendering
because it figures "left" and "right" based on camera position.
rubik.el seemed like an easier starting point. As far as I can tell,
the rubik-cube-state local variable is an array with the faces
specified as 6 groups of 9 integers in this order: top, front, right,
back, left, bottom, with cells specified from left to right, top to
bottom.
First, I wanted to recolour rubik so that it matched the setup of
the Roofpig JS library I'm using for animations.
(defconstmy-cubing-rubik-faces"YRGOBW")
;; make it match roofpig's default setup with yellow on top and red in front
(defconstrubik-faces [rubik-yellow
rubik-red
rubik-green
rubik-orange
rubik-blue
rubik-white])
Here are some functions to apply an algorithm (or actually, the inverse of the algorithm, which is useful for exploring a PLL case):
(defunmy-cubing-normalize (alg)
"Remove parentheses and clean up spaces in ALG."
(string-trim
(replace-regexp-in-string "[() ]+"" " alg)))
(defunmy-cubing-reverse-alg (alg)
"Reverse the given ALG."
(mapconcat
(lambda (step)
(if (string-match "\\`\\([rludfsbRLUDFSBxyz]\\)\\(['i]\\)?\\'" step)
(concat (match-string 1 step)
(if (match-string 2 step)
"""'"))
step))
(reverse
(split-string (my-cubing-normalize alg) " "))
" "))
(defunmy-cubing-rubik-alg (alg)
"Apply the reversed ALG to a solved cube.Return the rubik.el cube state."
(let ((reversed (my-cubing-reverse-alg alg)))
(seq-reduce
(lambda (cube o)
(when (intern (format "rubik-%s"
(replace-regexp-in-string "'""i" o)))
(unless (string= o "")
(rubik-apply-transformation
cube
(symbol-value
(intern
(format "rubik-%s"
(replace-regexp-in-string "'""i" o)))))))
cube)
(split-string reversed " ")
(rubik-make-initial-cube))))
Then I got the strings specifying the side colours and the top colours
in the format that I needed for the SVG diagrams. I'm optimistically
using number-sequence here instead of hard-coding the numbers so
that I can figure out how to extend the idea for 4x4 someday.
(my-cubing-rubik-last-layer-with-sides-from-alg
"R U R' F' R U R' U' R' F R2 U' R' U'"'((1 7 t) (2 8 t)))
It's also nice to be able to interactively step through the algorithm.
I prefer a more compact view of the undo/redo state.
;; Override undo information
(defunrubik-display-undo ()
"Insert undo information at point."
(cl-loop with line-str = "\nUndo: "
for cmd in (reverse (cdr rubik-cube-undo))
for i = 1 then (1+ i)
do (progn
(setq line-str (concat line-str (format "%s " (get cmd 'name))))
(when (> (length line-str) fill-column)
(insert line-str)
(setq line-str (concat "\n" (make-string 6 ?\s)))))
finally (insert line-str)))
;; Override redo information
(defunrubik-display-redo ()
"Insert redo information at point."
(cl-loop with line-str = "\nRedo: "
for cmd in (cdr rubik-cube-redo)
for i = 1 then (1+ i)
do (progn
(setq line-str (concat line-str (format "%s " (get cmd 'name))))
(when (> (length line-str) fill-column)
(insert line-str)
(setq line-str (concat "\n" (make-string 6 ?\s)))))
finally (insert line-str)))
(defunmy-cubing-convert-alg-to-rubik-commands (alg)
(mapcar
(lambda (step)
(intern
(format "rubik-%s-command"
(replace-regexp-in-string "'""i" step))))
(split-string (my-cubing-normalize alg) " ")))
(rubik-define-commands
rubik-U "U" rubik-U2 "U2" rubik-Ui "U'"
rubik-F "F" rubik-F2 "F2" rubik-Fi "F'"
rubik-R "R" rubik-R2 "R2" rubik-Ri "R'"
rubik-L "L" rubik-L2 "L" rubik-Li "L'"
rubik-B "B" rubik-B2 "B" rubik-Bi "B'"
rubik-D "D" rubik-D2 "D" rubik-Di "D'"
rubik-x "x" rubik-x2 "x" rubik-xi "x'"
rubik-y "y" rubik-y2 "y" rubik-yi "y'"
rubik-z "z" rubik-z2 "z2" rubik-zi "z'")
(defunmy-cubing-rubik-set-to-alg (alg)
(interactive"MAlg: ")
(rubik)
(fit-window-to-buffer)
(setq rubik-cube-state (my-cubing-rubik-alg alg))
(setq rubik-cube-redo (append (list 'redo)
(my-cubing-convert-alg-to-rubik-commands
alg)))
(setq rubik-cube-undo '(undo))
(rubik-draw-all)
(display-buffer (current-buffer)))
And now I can combine all those pieces together in a custom Org link type that will allow me to interactively step through an algorithm if I open it within Emacs and that will export to a diagram and an animation.
Let's try that with this F-perm, which I haven't memorized yet:
[[3x3:(R' U' F')(R U R' U')(R' F R2 U')(R' U' R U)(R' U R)?arrows=1-7,7-1,2-8,8-2]]
At some point, I'd like to change the display for rubik.el so that it
uses SVGs. (Or the OpenGL hacks in https://github.com/Jimx-/emacs-gl,
but that might be beyond my current ability.) In the meantime, this
might be fun.
In rubik.el, M-r redoes a move and M-u undoes it. Here's what it looks like with my tweaked interface:
Figure 1: Animated GIF of rubik.el stepping through an F-perm
When I was in high school, I had friends who cubed, but I didn't get
into it much myself. I did keep a Pyraminx around as a reminder of
those days, though. In September 2021, A+ got curious about the
Pyraminx, so we decided to order a bunch of 3x3 and 2x2 cubes. We
printed out the 2x2 tutorial and helped her learn the notation. The
2x2 cube skips all the middle sections, so it's a good way to
practise. Here's how her learning journey has gone so far.
2x2: first layer
She learned to keep the white squares on the bottom, then line up the
next piece with a white square on top of the space she wanted it to go
down and repeat the 4-move sequence (R U R' U') until it was in the
right place and facing the right way. She learned the 4-move sequence
by doing it slowly while we showed her on a different cube, and then
she was able to practise it on her own easily, with the quick pay-off
of being able to complete a layer.
2x2: yellow squares in the second layer
The next step is to get all the yellow pieces to face up. For this, I
think we blended the 2x2 guide from the actual Rubik's company with a
print-out that showed the different ways to hold it. She liked that
because it was easy to solve by repeating just one sequence (fish: R
U R' U R U2 R' - also known as Sune). The solution guide suggested
the chant "Up, Over, Down, Over, Up, Over, Over, Down," but I think
she quickly moved to just knowing it in her fingers. (Now that I'm
looking things up for this post, I've found a nice story about a
knight and a dragon in Rubik's Cube 2x2 Storytelling Method for Kids.)
Jumping to the 3x3: fish
The fish algorithm is also very useful for solving 3x3s (and it looks
more like a fish there), so around this time, she wanted me to make
the fish pattern for her so that she could "solve" it. One time we did
this more than a hundred times in a row. Here it really helped to have
several cubes, so I could set up one cube while she solved another.
2x2: Run to me fast
Back to the 2x2. She wanted to be able to solve the whole thing
herself, so she memorized the "Run to me fast" sequence from the
Rubik's cube 2x2 solution guide.
R' Run to me
F Fast
R' Run to me
B2 Back back
R Run away
F' Fast away
R' Run to me
B2 Back back
That was, again, an algorithm that could easily be translated to the
3x3 cube to get the corners of the last layer all matched up.
3x3: swapping the yellow middles
The last thing A+ needed to solve the 3x3 cube starting from the fish
was to be able to swap the last unsolved pieces. She memorized the algorithm
from the Rubik's solution guide for the 3x3 (F2 U L R' F2 L' R U
F2), probably by thinking of the pattern of bringing both sides down
and up.
Then she started snatching partially-solved cubes out of our hands as
soon as she recognized something she could handle. Again it helped to
have several cubes on the go, and it helped that both W- and I were
learning along with her. (I think I was learning more about
patience than about cubing…)
3x3: working backwards from there
Eventually she wanted to be able to solve more of the cube for
herself. She learned how to put the yellow pieces into a cross, then
learned how to put the middle edges into the second layer. Somewhere
along the way, she started using the daisy method to make the white
cross on the first layer, using her old favourite R U R' U' to put
the white corners into the right places.
Going forward
She's been improving on her own. After watching videos about doing the
white cross on the bottom, she stopped using the daisy and started
doing the white cross on the bottom too. I think she's been working on
F2L, pairing up the corner and the middle before inserting it. I've
been learning some PLL algorithms, so she's been working on them too.
Tucked under a blanket, we swap cubes back and forth, setting up and
solving the same perms. Sometimes it's difficult for her to choose the
right speed to practise something. She gets the algorithm right when
she does it slowly, but mixes up a step if she tries to move quickly
too soon, and then she gets frustrated. But she's learning to slow
down and try again, and that's fantastic.
She doesn't usually confuse L and R, but she still asks me about
clockwise and counterclockwise sometimes. I made it easier to add
algorithm animations to the little website I keep for her on our
network. Hmm, maybe I could try some more mnemonics to help her
remember which way clockwise is using fingertricks and letter sounds:
Four balls (front right, back left)? Leave them to me (left) right
away: up right, down low (left).
It's fun to learn with her. I've been challenging myself to plan more
of my crosses and pairs by closing my eyes in between sets of moves.
She sometimes does the same, calling it "part-blind." She shows me
fingertricks. She's faster than I am and will probably reach the
20-second PB or 30-second average before I reach the 30-second PB or
40-second average. I think there's something really interesting about
having your hands learn something that your brain might still be a
little slow to grasp. I'm glad this tickled her curiosity (and ours).