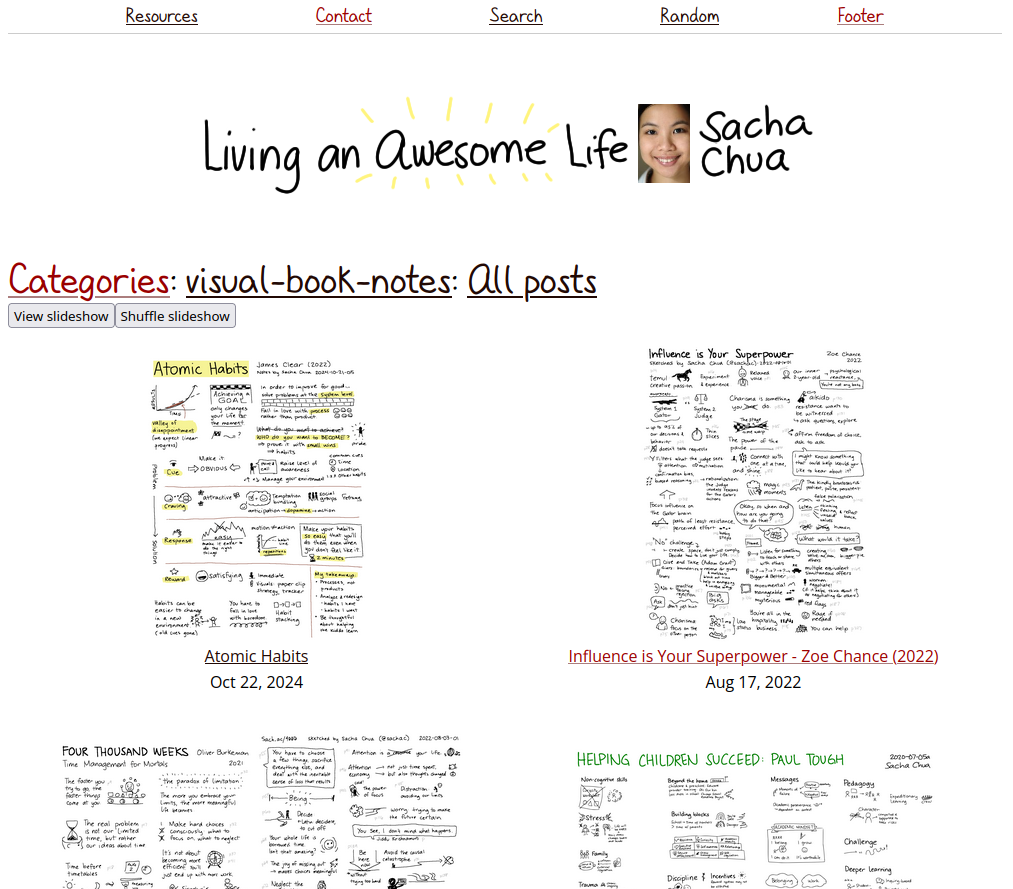
I customized my visual book notes - all view to show the thumbnails of the images, and I added
You can get to it by going to the visual-book-notes category from a post and then choosing "All".
I like the new "View slideshow" and "Shuffle slideshow" buttons I added.
Figure 1: Screenshot of my visual book notes gallery
I also fixed some of the broken images in older
posts, so there should be 43 posts with images
now.
Someday I want to add a way to go from the sketch
in the slideshow to the post, but it might require
upgrading the version of Photoswipe I have. I'm
currently on 4.x, which hasn't been updated in
years.
<?xmlversion="1.0" encoding="utf-8"?><xsl:stylesheetversion="3.0"xmlns:xsl="http://www.w3.org/1999/XSL/Transform"xmlns:dc="http://purl.org/dc/elements/1.1/"xmlns:atom="http://www.w3.org/2005/Atom"><xsl:outputmethod="html"version="1.0"encoding="UTF-8"indent="yes"/><xsl:templatematch="/"><htmlxmlns="http://www.w3.org/1999/xhtml"lang="en"><head><title> RSS Feed | <xsl:value-ofselect="/rss/channel/title"/></title><linkrel="stylesheet"href="/assets/style.css"/></head><body><h1style="margin-bottom:0">Recent posts: <xsl:value-ofselect="/rss/channel/title"/></h1><p> This is an RSS feed. You can subscribe to <ahref=" {/rss/channel/link}"><xsl:value-ofselect="/rss/channel/link"/></a> in a feed reader such as <ahref="https://github.com/skeeto/elfeed">Elfeed</a> for Emacs, <ahref="https://www.inoreader.com/">Inoreader</a>, or <ahref="https://newsblur.com/">NewsBlur</a>, or you can use tools like <ahref="https://github.com/rss2email/rss2email">rss2email</a>. The feed includes the full blog posts.You can also view the posts on the website at<ahref="{/rss/channel/atom:link[contains(@rel,'alternate')]/@href}"><xsl:value-ofselect="/rss/channel/atom:link[contains(@rel,'alternate')]/@href"/></a> .</p><xsl:for-eachselect="/rss/channel/item"><divstyle="margin-bottom:20px"><div><xsl:value-ofselect="pubDate"/></div><div><a><xsl:attributename="href"><xsl:value-ofselect="link/@href"/></xsl:attribute><xsl:value-ofselect="title"/></a></div></div></xsl:for-each></body></html></xsl:template></xsl:stylesheet>
atom.xsl
<?xmlversion="1.0" encoding="utf-8"?><xsl:stylesheetversion="3.0"xmlns:xsl="http://www.w3.org/1999/XSL/Transform"xmlns:atom="http://www.w3.org/2005/Atom"><xsl:outputmethod="html"version="1.0"encoding="UTF-8"indent="yes"/><xsl:templatematch="/"><htmlxmlns="http://www.w3.org/1999/xhtml"lang="en"><head><title> Atom Feed | <xsl:value-ofselect="/atom:feed/atom:title"/></title><linkrel="stylesheet"href="/assets/style.css"/></head><body><h1style="margin-bottom:0">Recent posts: <xsl:value-ofselect="/atom:feed/atom:title"/></h1><p> This is an Atom feed. You can subscribe to <ahref=" {/atom:feed/atom:link/@href}"><xsl:value-ofselect="/atom:feed/atom:link/@href"/></a> in a feed reader such as <ahref="https://github.com/skeeto/elfeed">Elfeed</a> for Emacs, <ahref="https://www.inoreader.com/">Inoreader</a>, or <ahref="https://newsblur.com/">NewsBlur</a>, or you can use tools like <ahref="https://github.com/rss2email/rss2email">rss2email</a>. The feed includes the full blog posts.You can also view the posts on the website at<ahref="{/atom:feed/atom:link[contains(@rel,'alternate')]/@href}"><xsl:value-ofselect="/atom:feed/atom:link[contains(@rel,'alternate')]/@href"/></a> .</p><xsl:for-eachselect="/atom:feed/atom:entry"><divstyle="margin-bottom:20px"><div><xsl:value-ofselect="substring(atom:updated, 0, 11)"/></div><div><a><xsl:attributename="href"><xsl:value-ofselect="atom:link/@href"/></xsl:attribute><xsl:value-ofselect="atom:title"/></a></div></div></xsl:for-each></body></html></xsl:template></xsl:stylesheet>
What can I learn from thinking about the flow rate?
input > output, and that's okay
Parts:
idea: agenda/review?
capture: refile to tags
toot: use this more, get stuff out
braindump: use transcripts or outline
sketch: bedtime
post: cut off earlier, can follow up
video: workflow tweaks
Thoughts:
more input is not always better; already plenty, not limiting factor
prioritize, review
overflow: add notes and pass it along, if poss.
can add things later (results, sketches, posts, videos)
manage expectations; minimize commitments
favour small things that flow easily
collect things in a container
tags, outlines
posts, videos
minimize filing, but still find related notes
become more efficient and effective
The heap:
Org dates have been working for time-sensitive/urgent things
Lots of discretionary things get lost in the shuffle
waste info collected but forgotten
half-finished posts that have gone stale
redoing things
late replies to conversations
things that are just in my config - some people still find them, so that's fine
Next: toot more experiment with braindumping, video
I come up with way more ideas than I can work on, and that's okay.
That's good. It means I can always skim the top for interesting
things, and it's fine if things overflow as long as the important
stuff stays in the funnel. I'm experimenting with more ways to keep
things flowing.
I usually come up with lots of ideas and then revisit my priorities to
see if I can figure out 1-3 things I'd like to work on for my next
focused time sessions. These priorities are actually pretty stable for
the most part, but sometimes an idea jumps the queue and that's okay.
There's a loose net of projects/tasks that I'm currently working on
and things I'm currently interested in, so I want to connect ideas and
resources to those if I can. If they aren't connected, or if they're
low-priority and I probably won't get to them any time soon, it can
make a lot of sense to add quick notes and pass it along.
For things I want to think about some more, my audio braindumping
workflow seems to be working out as a way to capture lots of text
even when I'm away from my computer. I also have a bit more time to
sketch while waiting for the kiddo to get ready for bed. I can use the
sketchnotes as outlines to talk through while I braindump, and I can
take my braindumps and distill them into sketches. Then I can take
those and put them into blog posts. Instead of getting tempted to add
more and more to a blog post (just one more idea, really!), I can try
wrapping up earlier since I can always add a follow-up post. For some
things, making a video might be worthwhile, so smoothing out my
workflow for creating a video could be useful. I don't want to spend a
lot of time filing but I still want to be able to find related notes,
so automatically refiling based on tags (or possibly suggesting refile
targets based on vector similarity?) might help me shift things out of
my inbox.
I'm generally not bothered by the waste of coming up with ideas that I
don't get around to, since it's more like daydreaming or fun. I
sometimes get a little frustrated when I want to find an interesting
resource I remember coming across some time ago and I can't find it
with the words I'm looking for. Building more of a habit of capturing
interesting resources in my Org files and using my own words in the
notes will help while I wait for personal search engines to get
better. I'm a little slow when it comes to e-mails because I tend to
wait until I'm at my computer–and then when I'm at my computer, I
prefer to tinker or write. I occasionally redo things because I didn't
have notes from the previous solution or I couldn't find my notes.
That's fine too. I can get better at taking notes and finding them.
So I think some next steps for me are:
Post more toots on @sachac@emacs.ch; might be useful as a firehose for ideas. Share them back to my Org file so I have a link to the discussion (if any). Could be a quick way to see if anyone already knows of related packages/code or if anyone might have the same itch.
See if I can improve my braindumping/sketch workflow so that I can flesh out more ideas
Tweak my video process gradually so that I can include more screenshots and maybe eventually longer explanations
I received a Google Open Source Peer Bonus for my contributions to GNU
Emacs, which was a pleasant surprise. Thanks!
I'm thinking of ways to reinvest the ~USD 250 award into Emacs and the
community to see what a little money earmarked for that could do.
People have already donated enough to EmacsConf to cover hosting
costs, so that's all sorted out. People have also already sent me more
than enough to cover my hosting costs using my ancient
pay-what-you-want resources. I wonder how I could use the money to
help me make more blog posts and videos.
Speech recognition: Paying for cloud usage will let me do tiny
experiments without upgrading my X230T1 for now. I could start
with speech recognition as a way of fleshing out ideas and getting
them into text faster. Deepgram charges USD 0.0048/min for
batch-processing with Whisper Large and USD 0.0059/min for streaming
with their Nova-2 model, so that's… umm… ~860+ hours I could
process. Over the past couple of weeks of experimenting with this
idea, I've recorded about 1-2 hours of audio braindumps a day, so
that's still well over a year of being able to play around with this.
(And actually I still have USD ~187 of free trial credits with them,
so…)
AI: I might also be able to use AI for outlining/summarizing/cleaning up
my audio braindumps. I just have to figure out the right prompts for
ChatGPT. Here's one I've been experimenting with so that I can get
things into roughly an Org Mode format while still letting me easily
look things up in the transcript:
Outlining prompt
Reorganize this rough transcript into an outline of ideas.

Format it like this:

- item 1
  - details
    - more details
      - verbatim quote from transcript
    - more details
      - verbatim quote from transcript
    - more details
      - verbatim quote from transcript
  - details
    - more details
      - verbatim quote from transcript
    - more details
      - verbatim quote from transcript
    - more details
      - verbatim quote from transcript
  - details
    - more details
      - verbatim quote from transcript
    - more details
      - verbatim quote from transcript
    - more details
      - verbatim quote from transcript
    - more details
- item 2 ...
Drawing: The kiddo uses the iPad a lot for reading, but maybe I can
squeeze in some time to tinker around with different apps for drawing
and animation.
Video editing: Maybe I can learn more about video editing or figure
out what gear makes sense to add to my setup.
If you have other suggestions for low-cost experiments that might pay
off in terms of making more useful blog posts or videos, I'd love to
hear them!
The X230T is a lovely computer. This particular one is a
donation from Matthew Darling, and it has an i5-3320M. I occasionally
get tempted to upgrade to maybe a desktop with a GPU so that I can do
more experiments with Whisper, ffmpeg, or local AI models, but since I
still only have a tiny sliver of computing time each day before the
kiddo wakes up, it doesn't make sense to buy a powerful computer that
will sit idle most of the time. He also gave me a Surface Book with an
i7-6600U, and I can probably run stuff on it. It has a 1GB NVIDIA GPU,
even, so maybe I should figure out how I can ssh into it since it runs
Windows at the moment. There's a W530 with an i7-3820QM around here
with a 2GB NVIDIA GPU that also tends to be idle. That one dualboots
between Windows and Linux, but it tends to be in Windows because the
kiddo uses it to play Minecraft Bedrock. I've just set up SSH access
to WSL on both of them, so that should be promising. I'm surrounded by
excess compute resources that I could use for making videos either
through interactive applications like Kdenlive or through text-based
workflows using my Emacs Lisp functions. Besides, it makes sense to
focus on very short videos for now (or even blog posts with more
screenshots and animated GIFs). Maybe I just need to spend some time
this winter break to figure out some workflows. Hmm…
At some point during the conversion of my blog from Wordpress to 11ty,
I wanted to change my sketch links to use a custom shortcode instead
of referring to the sketch in my old wp-uploads directory. Because
Wordpress changed the filenames a little, I used the ID at the start
of the filename. I forgot that many of my filenames from 2013 to 2015
just had the date without a uniquely identifying letter or number
suffix, so many old references were ambiguous and my static site
generator just linked to the first matching file. When I was listening
to my old monthly reviews as part of my upcoming 10-year review, I
noticed the repeated links. So I wrote these functions to help me find
and replace markup of the form sketchLink "2013-10-06" with
sketchLink "2013-10-06 Daily drawing - thinking on paper #drawing",
replacing references to the same date with the next sketch in the
list. I figured that would be enough to get the basic use case sorted
out (usually a list of sketches in my monthly/weekly reviews), taking advantage of the my-list-sketches function I defined in my Emacs config.
Sometimes I needed to delete the whole list and start again:
(defunmy-insert-sketch-list-between (start-date end-date)
(insert
(mapconcat
(lambda (f)
(format"<li>%s sketchLink \"%s\" %s</li>\n"
(concat"{""%") ; avoid confusing 11ty when I export this
(file-name-sans-extension f)
(concat"%""}")))
(sort (seq-filter
(lambda (f) (and (string< f end-date) (not (string< f start-date))))
(my-list-sketches nil nil '("~/sync/sketches")))
'string<)
"")))
I used find-grep-dired to search for sketchLink
\"[0-9][0-9][0-9][0-9]-[0-9][0-9]-[0-9][0-9]\" and then I just used a
keyboard macro to process each file.
Anyway, really old monthly reviews like this one for October 2013
should mostly make sense again. I could probably pull out the correct
references from the Wordpress database backup, but what I've got is
probably okay. I would probably have gotten much grumpier trying to do
this without Emacs Lisp. Yay Emacs!
I sometimes want to move the Org source for my blog posts to the same
directory as the 11ty-exported HTML. This should make it easier to
update and reexport blog posts in the future. The following code
copies or moves the subtree to the 11ty export directory.
(defunmy-org-11ty-copy-subtree (&optional do-cut)
"Copy the subtree for the current post to the 11ty export directory.With prefix arg, move the subtree."
(interactive (list current-prefix-arg))
(let* ((file-properties
(org-element-map
(org-element-parse-buffer)
'keyword
(lambda (el)
(when (string-match "ELEVENTY" (org-element-property :key el))
(list
(org-element-property :key el)
(org-element-property :value el)
(buffer-substring-no-properties
(org-element-property :begin el)
(org-element-property :end el)))))))
(entry-properties (org-entry-properties))
(filename (expand-file-name
"index.org"
(expand-file-name
(assoc-default "EXPORT_ELEVENTY_FILE_NAME" entry-properties)
(car (assoc-default "ELEVENTY_BASE_DIR" file-properties))))))
(unless (file-directory-p (file-name-directory filename))
(make-directory (file-name-directory filename) t))
;; find the heading that sets the current EXPORT_ELEVENTY_FILE_NAME
(goto-char
(org-find-property "EXPORT_ELEVENTY_FILE_NAME" (org-entry-get-with-inheritance "EXPORT_ELEVENTY_FILE_NAME")))
(org-copy-subtree 1 (if do-cut 'cut))
(with-temp-file filename
(org-mode)
(insert (or
(mapconcat (lambda (file-prop) (elt file-prop 2))
file-properties
"")
"")
"\n")
(org-yank))
(find-file filename)
(goto-char (point-min))))
Then this adds a link to it:
(defunmy-org-export-filter-body-add-index-link (string backend info)
(if (and
(member backend '(11ty html))
(plist-get info :file-name)
(plist-get info :base-dir)
(file-exists-p (expand-file-name
"index.org"
(expand-file-name
(plist-get info :file-name)
(plist-get info :base-dir)))))
(concat string
(format "<div><a href=\"%sindex.org\">View org source for this post</a></div>"
(plist-get info :permalink)))
string))
(with-eval-after-load'ox
(add-to-list 'org-export-filter-body-functions#'my-org-export-filter-body-add-index-link))
Then I want to wrap the whole thing up in an export function:
Both Google Cloud Vision and SuperNote's new handwriting recognition
handle my print fine. Neither handle columns the way I'd like, but to
be fair, I'm not really sure how I want columns and wrapping handled
anyway. I can always experiment with the standard use-case: one column
of text, to export as text (with perhaps the occasional sketch, which
I can crop and include).
If I can get the hang of writing my thoughts, then it turns some of
those bedtime hours into writing hours. Writing by hand feels slow and
linear, but it's better than nothing, and thinking takes most of the
time anyway. While speech recognition feels like it might be faster in
short bursts, I don't have a lot of "talking to myself" time (aside
from sleepy brain dumps), and my workflow for processing audio is
still slow and disjointed. I can't type on my phone because then A-
will want to be on a screen too. I'm glad e-ink devices are different
enough not to trigger her sense of unfairness, although sometimes she
does ask if she can do mazes or connect-the-dots. Then I switch to
knitting until it's really really time to go to bed.
I'm slowly figuring out my workflows for experimenting with and
writing about code. Naturally, that's a little more challenging to
write about by hand, but I could draft the context. I can think
through life stuff too, and maybe look into saving more notes in my
Org files.
I've experimented with handwritten blog posts before. Now that I have
a little more time to tweak my workflow and think thoughts, maybe I'll
get the hang of them!
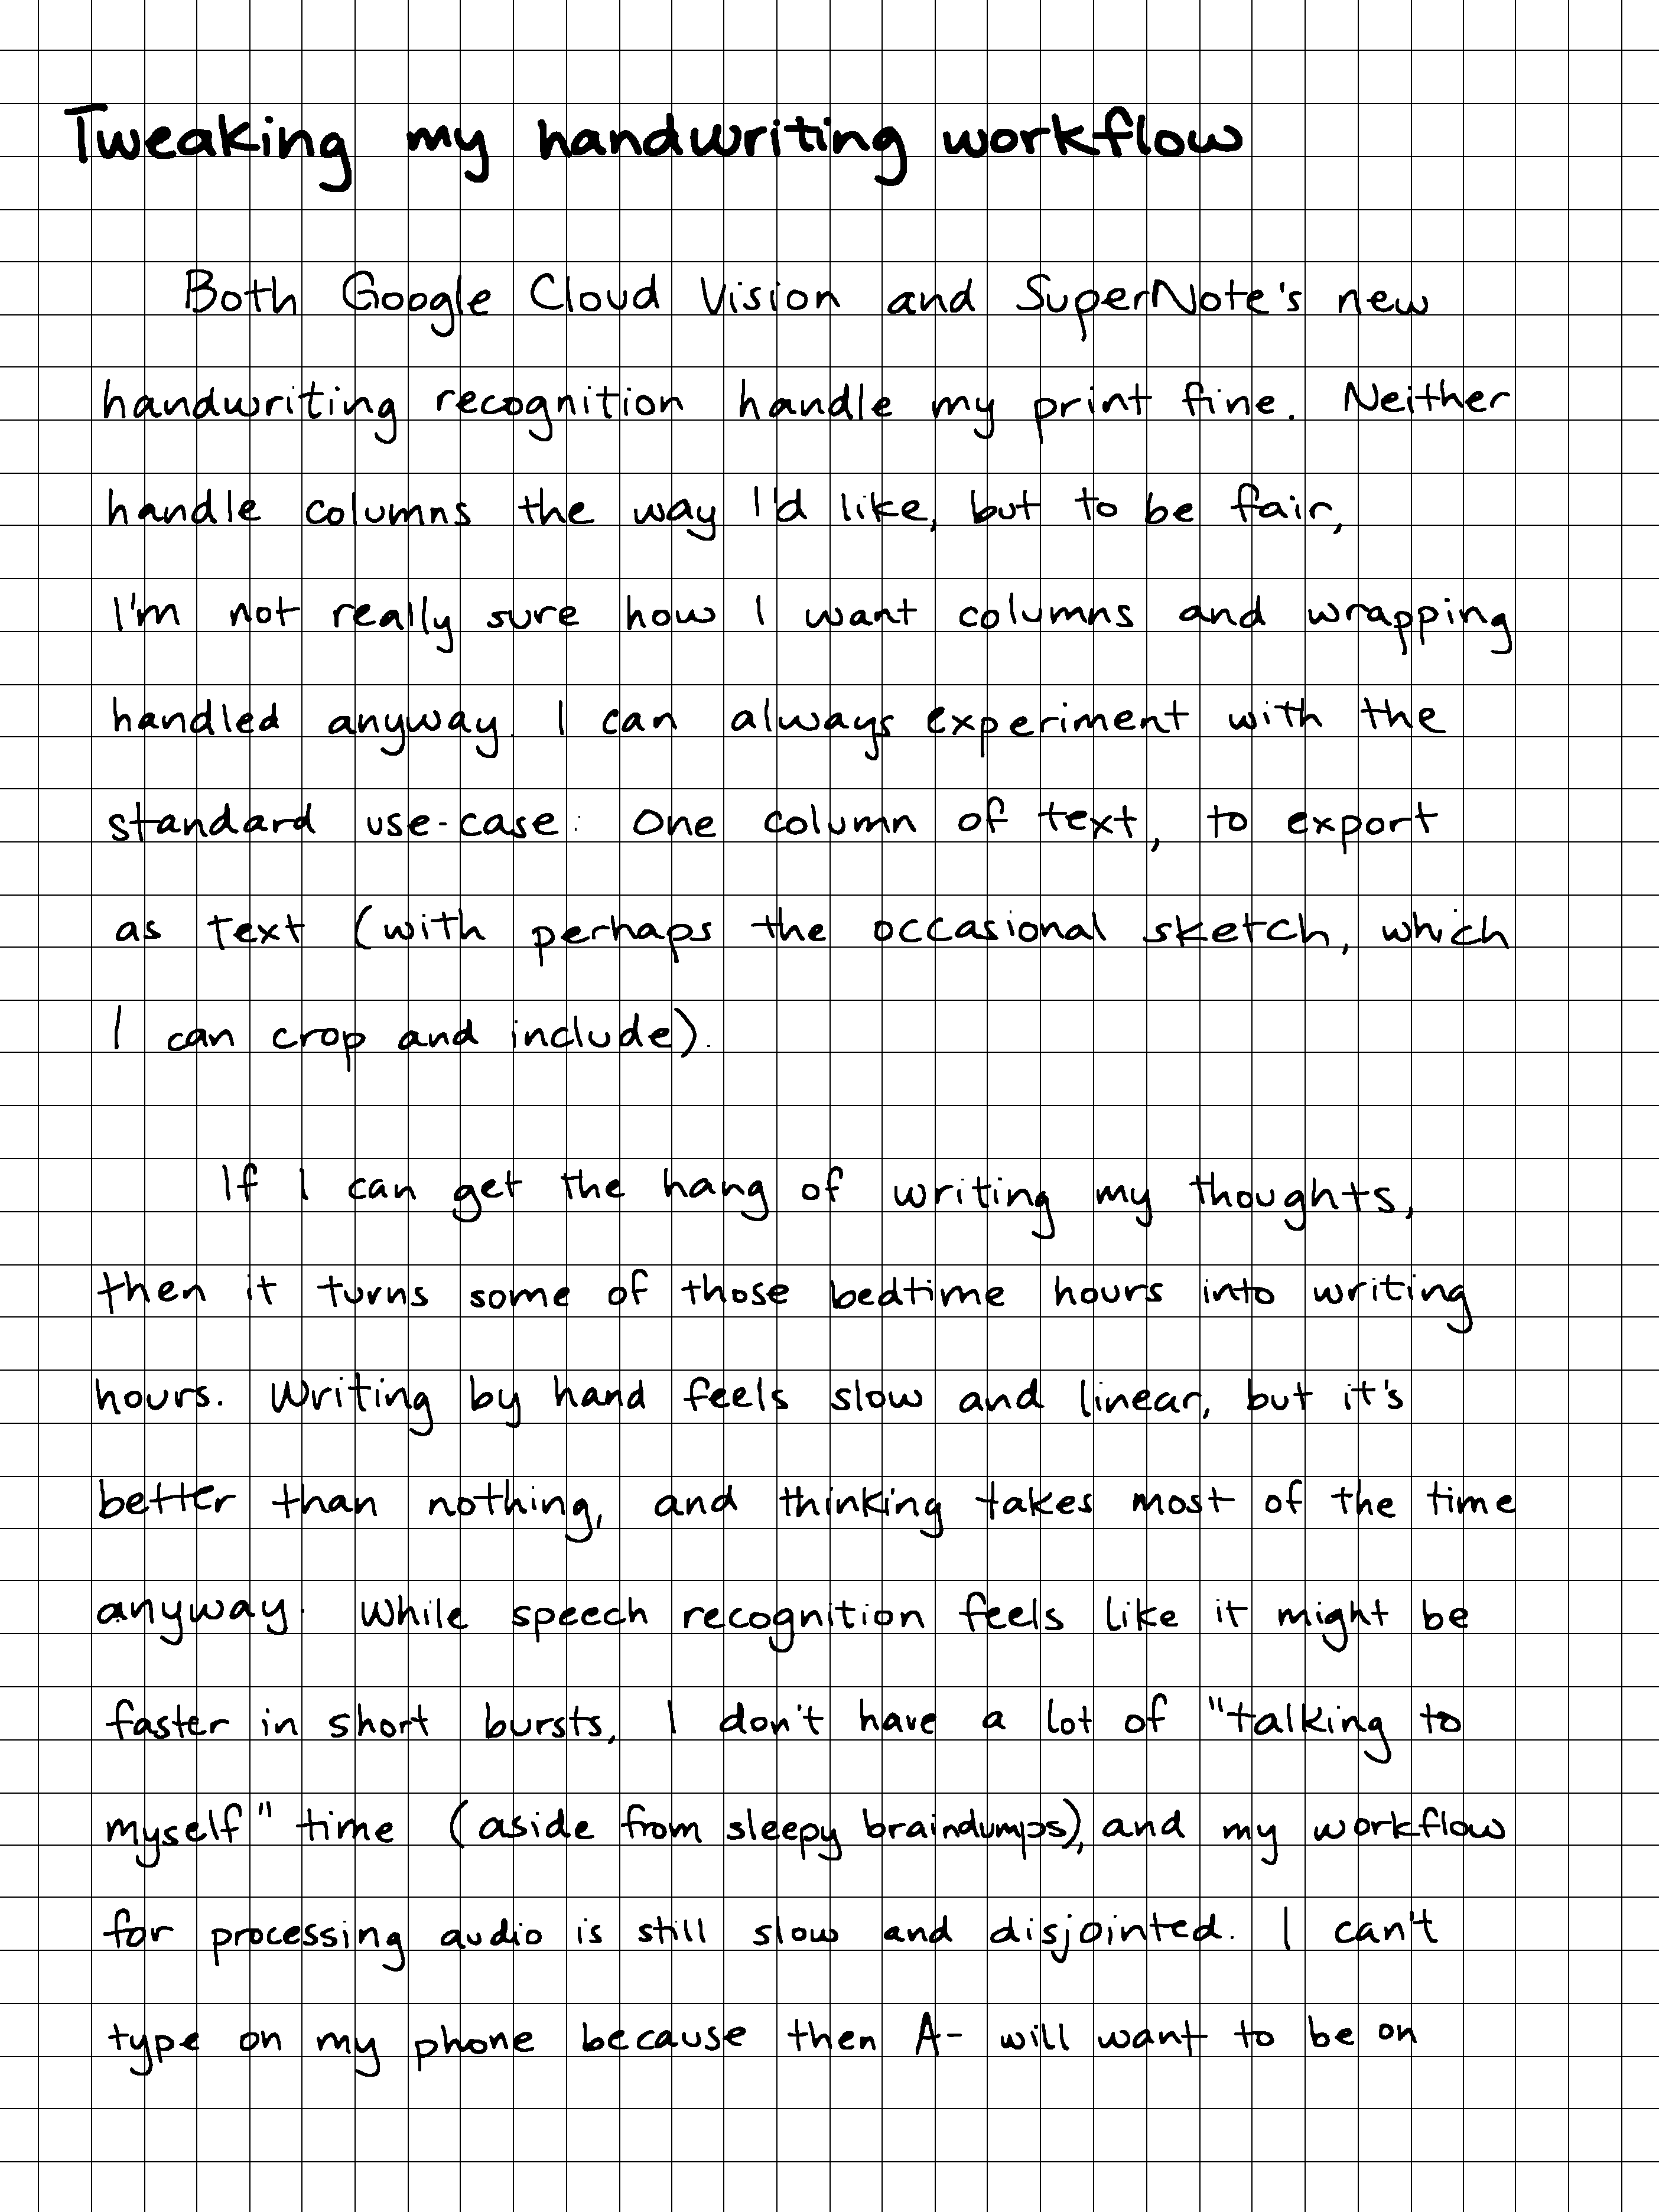
It looks like the Supernote's real-time recognition is pretty accurate
for my handwriting, getting the text out of multiple pages is pretty
straightforward.
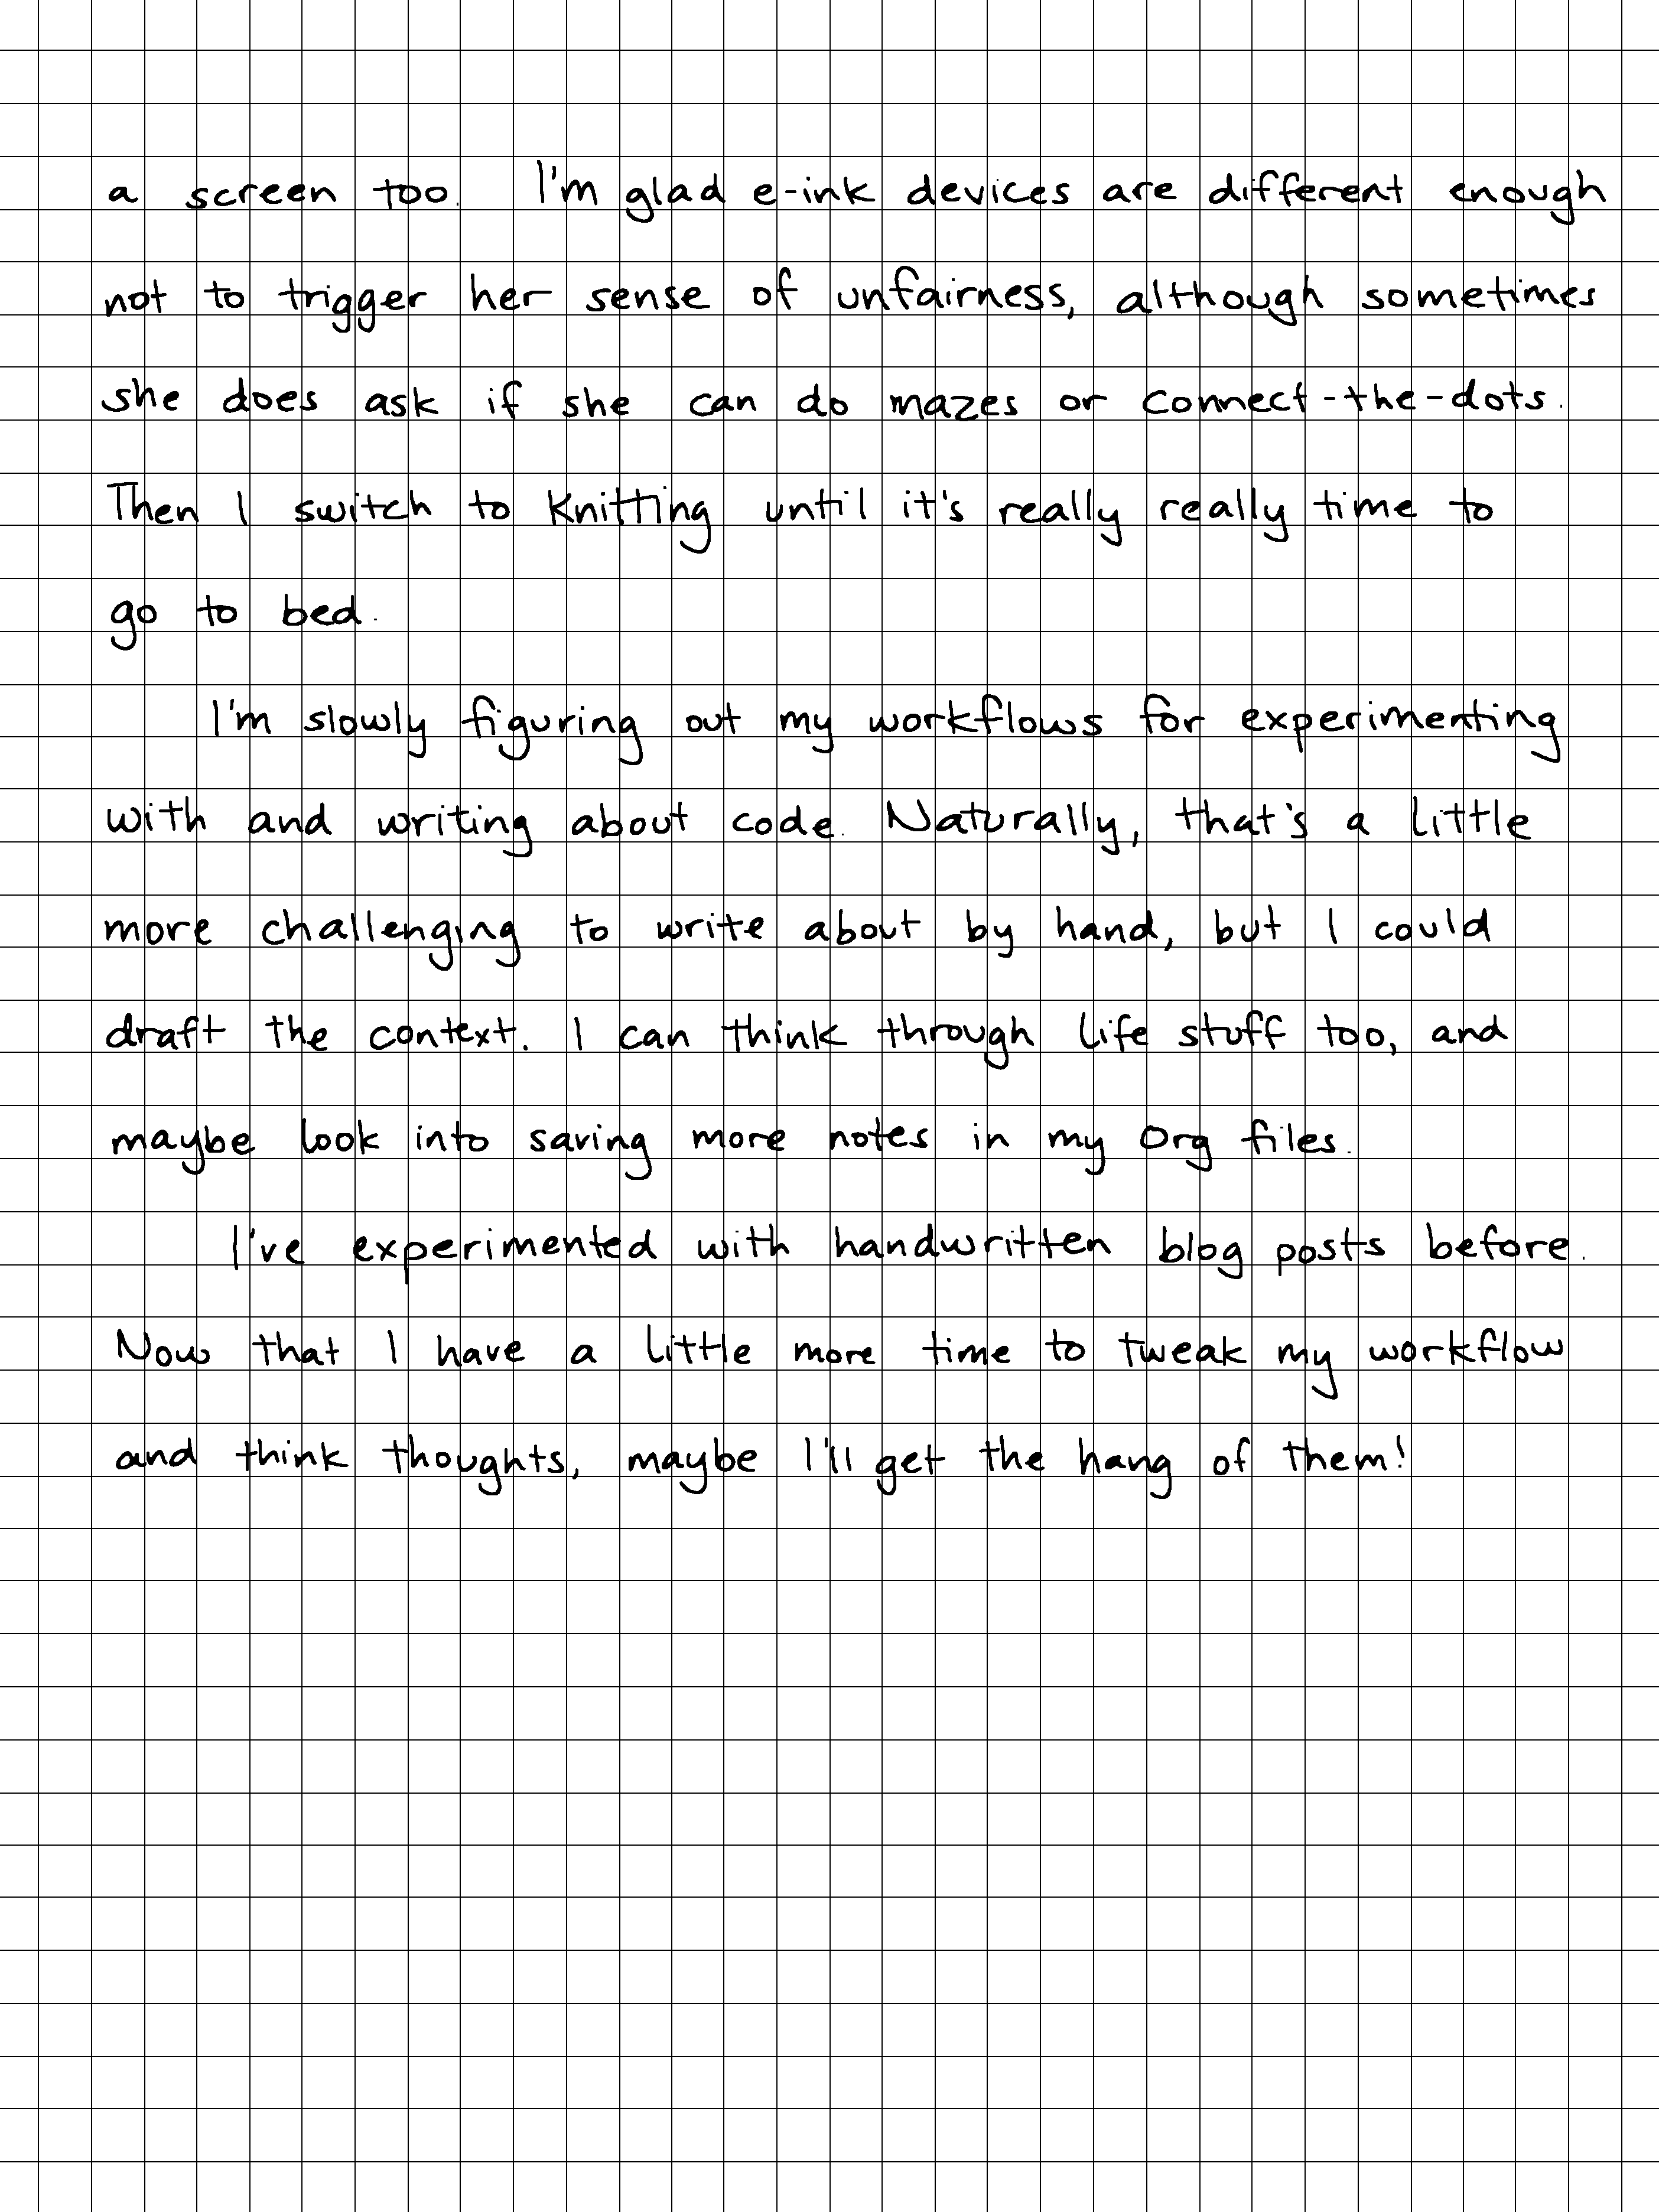
Here's what it took to edit it into the first part of this post - just adding line-breaks and fixing up some words:
Figure 1: My editing process - just added line breaks and fixed some wordsSource images
[[
Figure 2: Second page
If I add more lines between paragraphs when writing, I might be able
to skip adding them in the text export.
For comparison, here's the text output from Google Cloud Vision.
Tweaking my handwriting workflow
Both Google Cloud Vision and Super Note's new
handwriting recognition handle my print fine. Neither
handle columns the way I'd like, but to be fair,
I'm not really sure how I want columns and wrapping
handled anyway I can always experiment with the
standard use-case
use-case: One column of text, to export
as Text (with perhaps the occasional sketch, which
can crop and include).
If I can get the hang of writing my thoughts,
then it turns some of those bedtime hours into writi
writing
hours. Writing by hand feels slow and linear, but it's
better than nothing, and thinking takes most of the time
anyway while speech recognition feels like it might be
faster in short bursts, don't have a lot of "talking to
myself" time (aside from sleepy braindumps), and my workflow
for processing audio is still slow and disjointed. I can't
type on my phone because then A- will want to be on

I'm glad e-ink devices are different enough
not to trigger her sense of unfairness, although sometimes
she does ask if she can do mazes or connect-the-dots
a screen too
Then I switch to Knitting until it's really really time to
go to bed.
I'm slowly figuring out my workflows for experimenting
with and writing about code. Naturally, that's a little
more challenging to write about by hand, but I could
draft the context. I can think through life stuff too, and
maybe look into saving more notes in my org files
I've experimented with handwritten blog posts before
Now that I have a little more time to tweak my workflow
and think thoughts, maybe I'll get the hang of them!
I'm leaning towards SuperNote's recognition results for long text,
although I don't get access to the confidence data so I'll probably
just have to delete the misrecognized text if I include sketches.